|
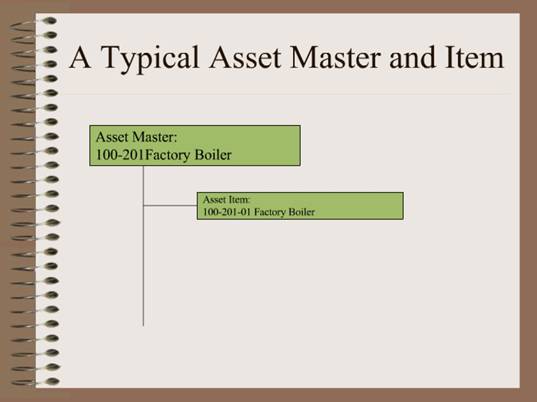
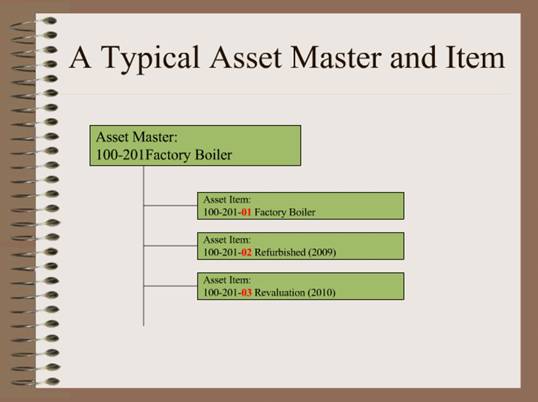
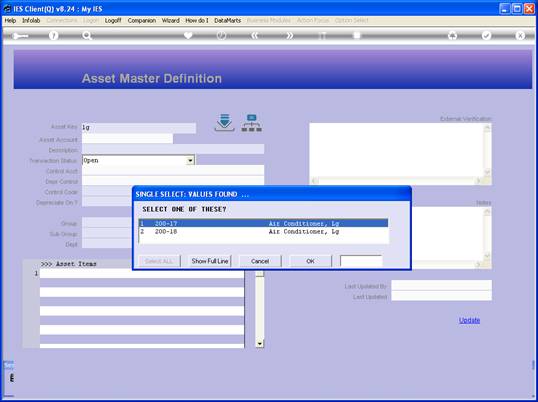
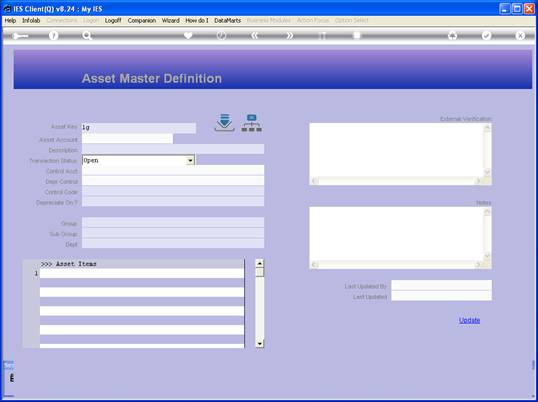
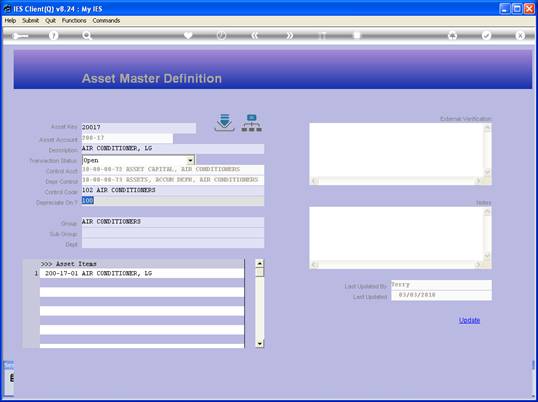
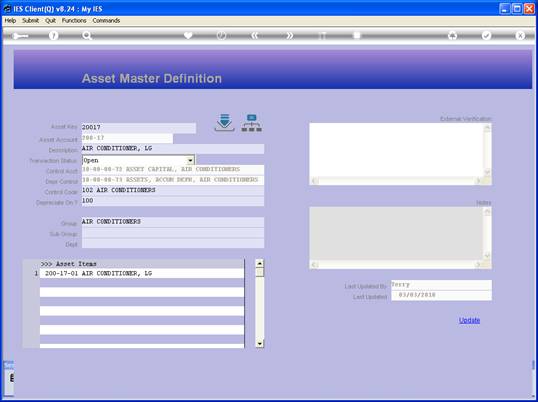
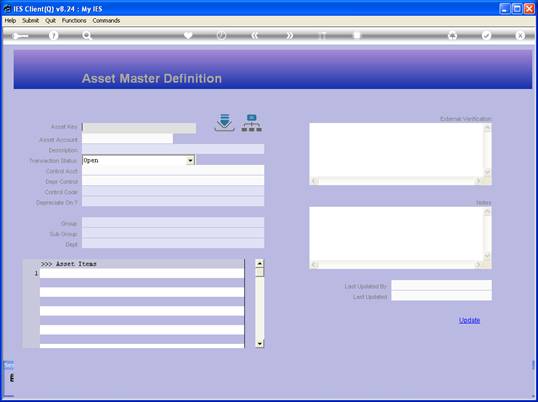
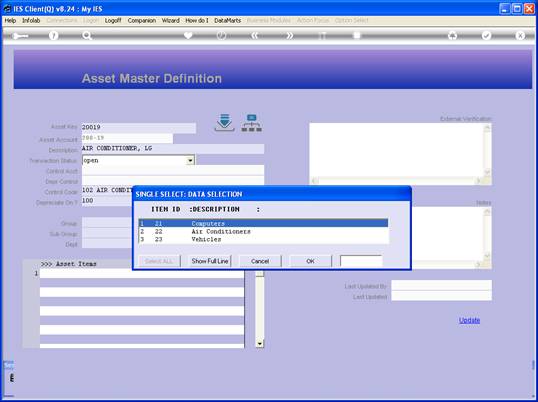
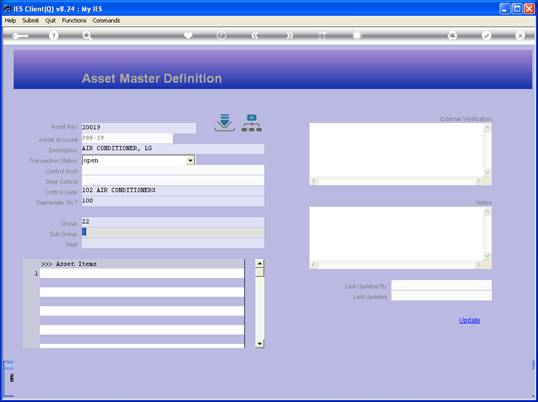
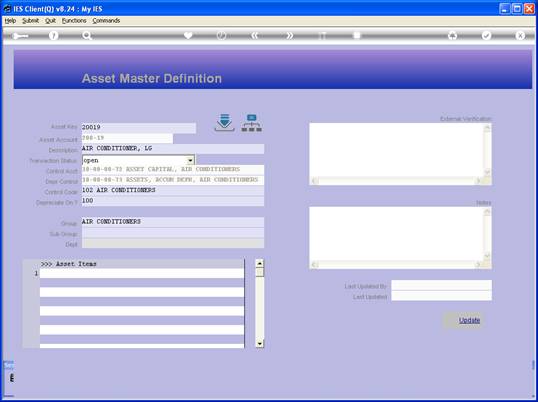
A Typical Asset Master and Item
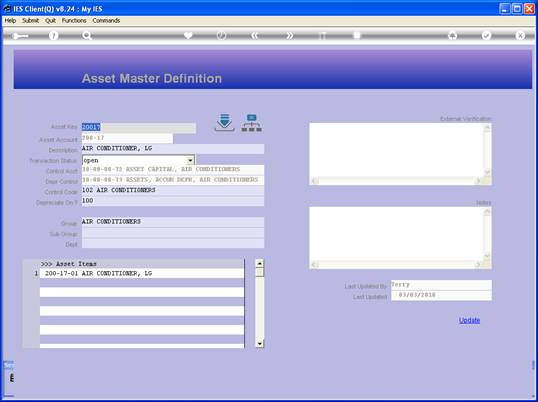
Slide notes: In fact, an Asset always starts
out with a Master and 1 Item, usually with the same description, and
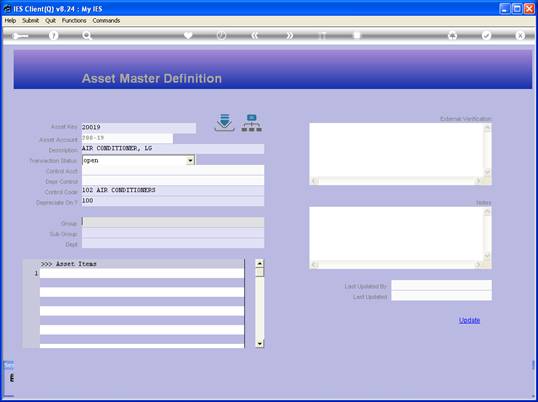
although it is not forced, the convention is to make the Asset Item Key the
same as that of the Asset Master, followed with '-01', '-02', etc. for any
Items that are added. In many cases, for the life of the Asset, there may
be only the 1 Asset Item attached to the Master.
|