Slide 1

Slide notes: We are now going to look at an Asset Verification Upload. When Assets are verified as a control procedure, the results can be uploaded from a suitable File, or captured. The Upload option is more popular.


Slide 2

Slide notes: To see what format will be expected for the data in the Upload File, we can consult the Help document.


Slide 3

Slide notes: The required columns are described here, and also what happens in each case when a Column Item for an Asset Item is specified or not specified.


Slide 4

Slide notes:


Slide 5

Slide notes:


Slide 6

Slide notes:


Slide 7

Slide notes: This is a view of the Excel Spreadsheet that we will use for the upload in this tutorial.


Slide 8

Slide notes:


Slide 9

Slide notes: When the UPLOAD option is selected, the system will list qualifying Files that are currently found on the BRIDGE folder. Only '.txt' and '.csv' files will qualify, and if no suitable Files are found, then no upload can be performed.


Slide 10

Slide notes:


Slide 11

Slide 
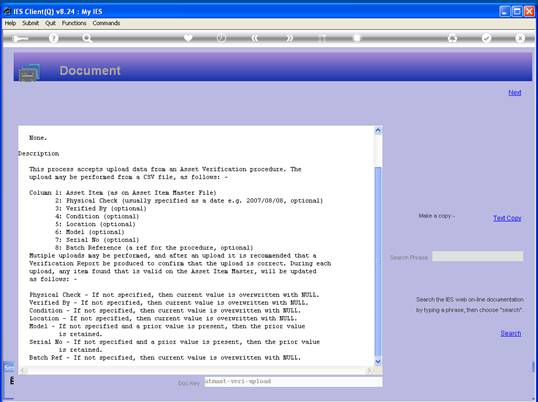
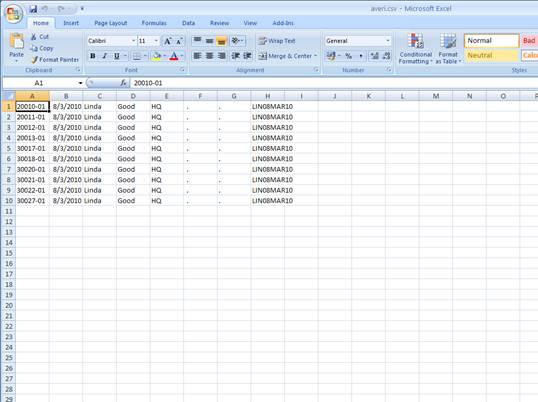
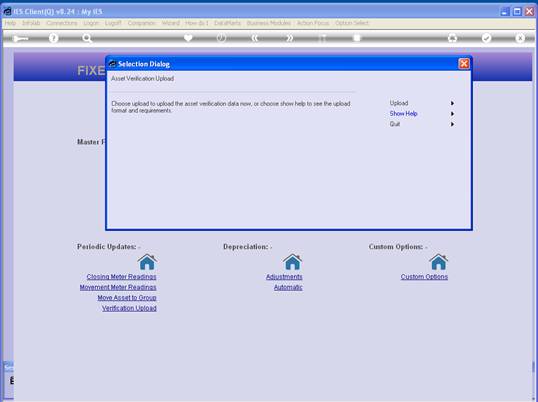
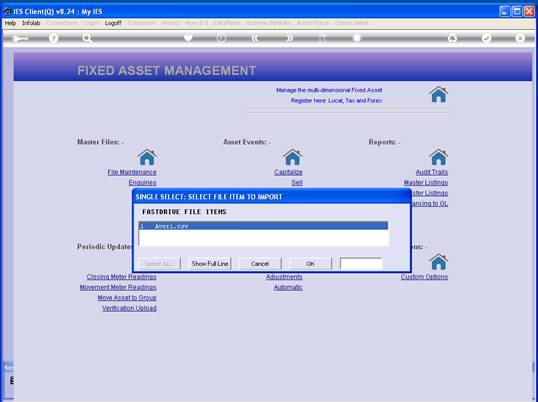
notes: Once we select the target File, the system will upload it and update the Asset Items according to the data as listed in the file, and as 
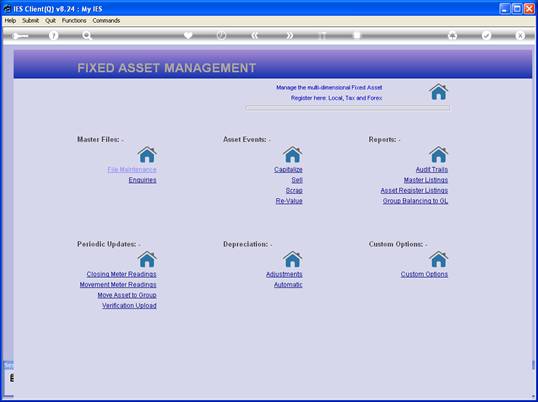
described in the Help document. When the exercise is complete, the system returns to the Asset menu.


Slide 12

Slide notes: