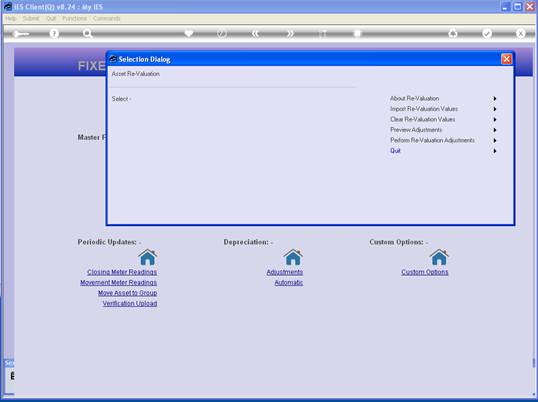
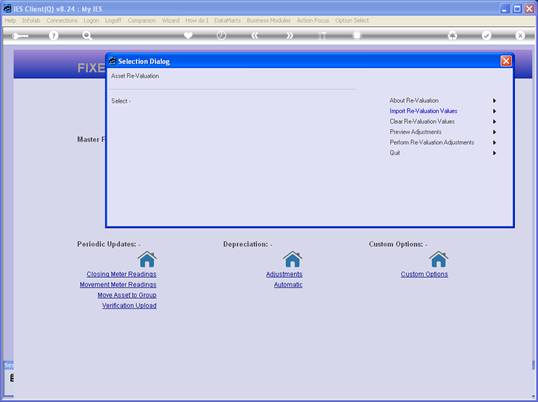
Slide
notes: In this tutorial, we are working with Asset Re-Valuation and we will
explore the step where we import or upload the new Asset Values.
Slide 2
Slide
notes:
Slide 3
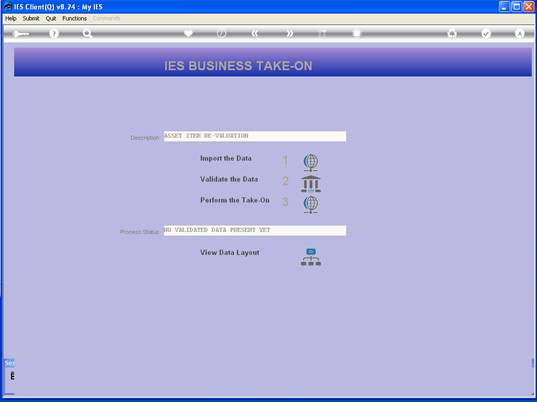
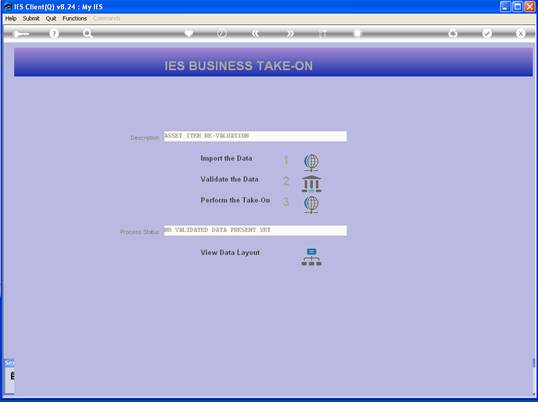
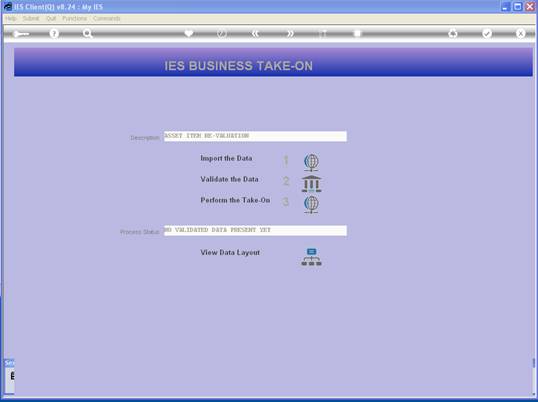
Slide
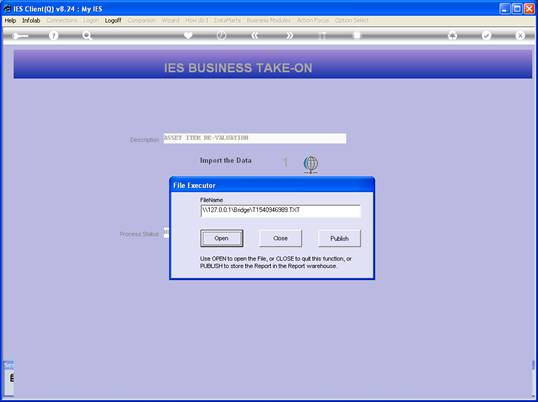
notes: At the Take On screen, let us first consider the data layout that is
expected.
Slide 4
Slide
notes:
Slide 5
Slide
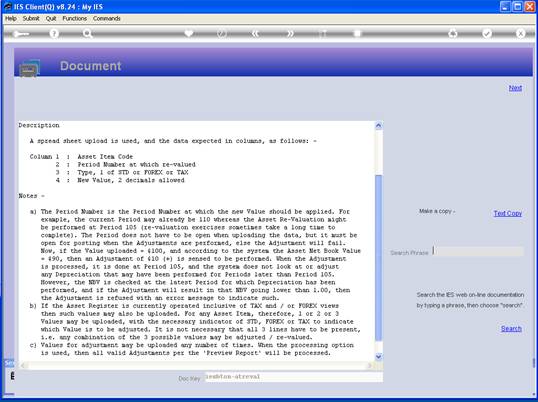
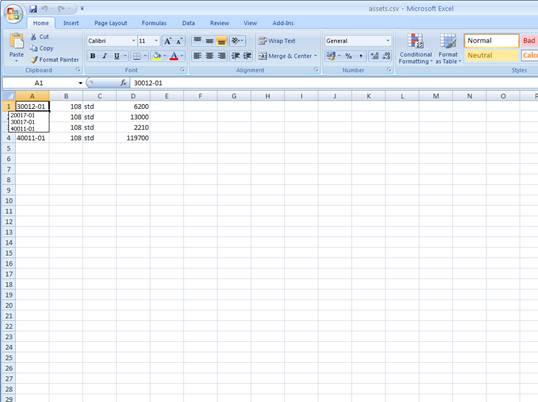
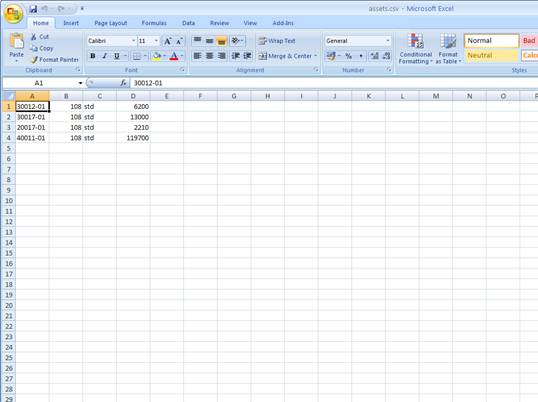
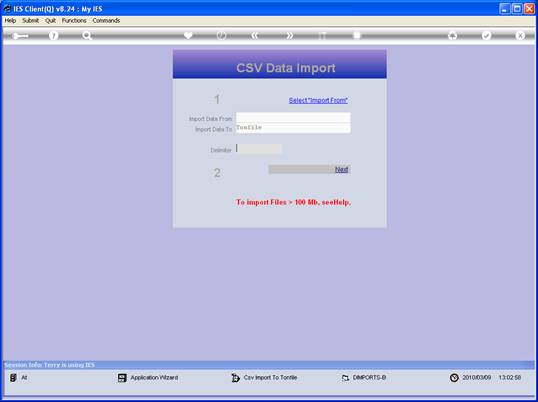
notes: As with most data imports, we can upload the data from a Spread
Sheet that has been saved as a CSV file, or simply from a TXT file that has
text data but with the values separated by COMMA.
Slide 6
Slide
notes:
Slide 7
Slide
notes: There is also further explanation of the expected data and what will
happen in certain circumstances. This is useful to read before using it for
the first time.
Slide 8
Slide
notes:
Slide 9
Slide
notes:
Slide 10
Slide
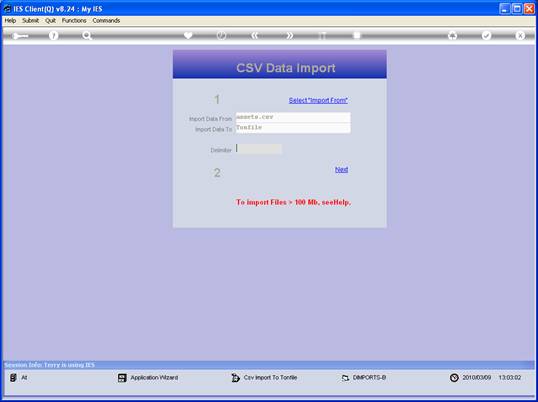
notes: The next step will be to select and import the target file that has
the new Asset Values. But before we do that, let us show that we have such
a file ready on the BRIDGE folder.
Slide 11
Slide
notes:
Slide 12
Slide
notes: And here we can see the file that is ready and waiting on the BRIDGE
folder. That is the only folder from which we can import.
Slide 13
Slide
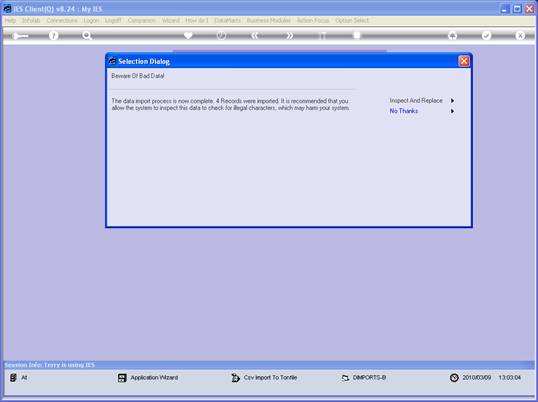
notes: The new Asset Values that we are going to upload at this stage
include 4 Asset Items.
Slide 14
Slide
notes:
Slide 15
Slide
notes:
Slide 16
Slide
notes:
Slide 17
Slide
notes:
Slide 18
Slide
notes:
Slide 19
Slide
notes:
Slide 20
Slide
notes:
Slide 21
Slide
notes:
Slide 22
Slide
notes:
Slide 23
Slide
notes: Then we have to validate the data before the system will allow it to
be processed.
Slide 24
Slide
notes:
Slide 25
Slide
notes:
Slide 26
Slide
notes:
Slide 27
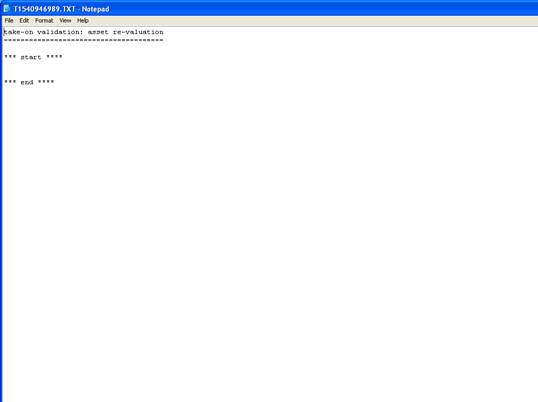
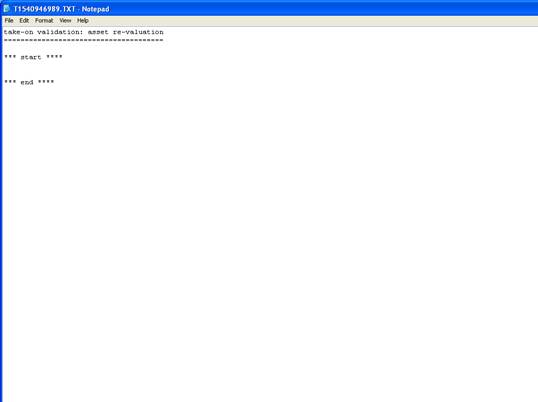
Slide
notes: The Validation report will produce error messages between
"start" and "end" if there are any, else everything is
OK.
Slide 28
Slide
notes:
Slide 29
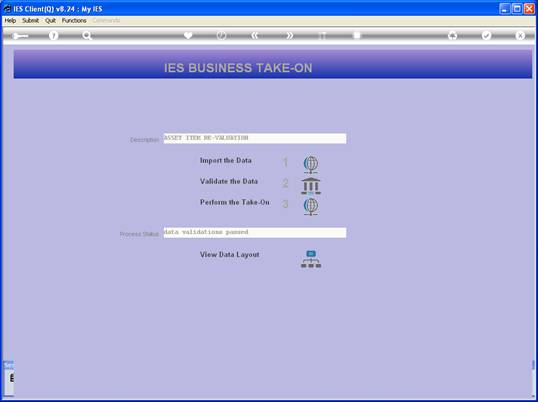
Slide
notes: The status indicator will change to "data validations
passed".
Slide 30
Slide
notes: And then we may perform the Take On.
Slide 31
Slide
notes:
Slide 32
Slide
notes:
Slide 33
Slide
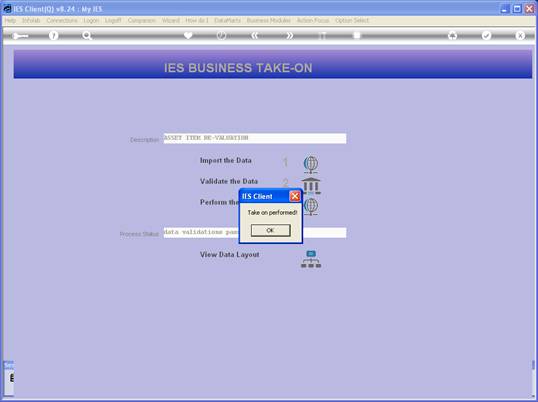
notes: The Take On has now been performed. The next step will be to Preview
the Adjustments, and that is shown in a separate tutorial.