Slide
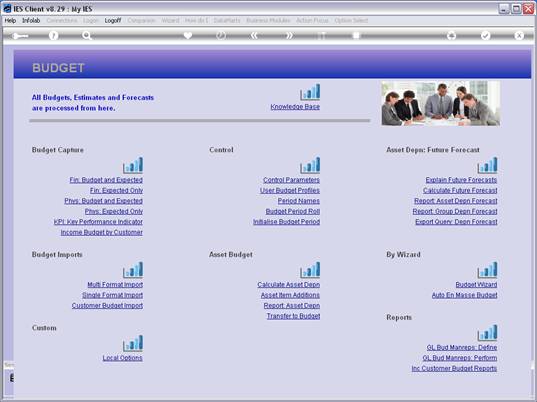
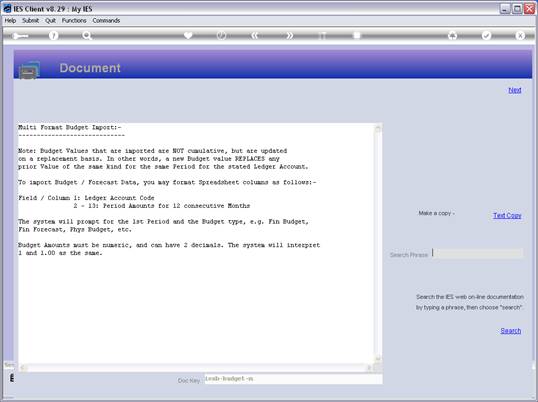
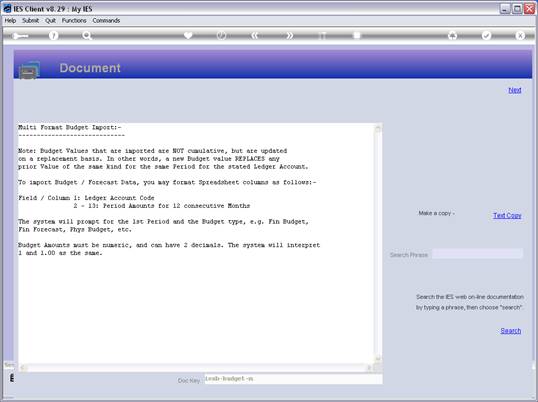
notes: The Multi Format Budget Import accepts Budget Data where each Line
can include the GL Account Code plus all 12 Budget Values.
Slide 2
Slide
notes:
Slide 3
Slide
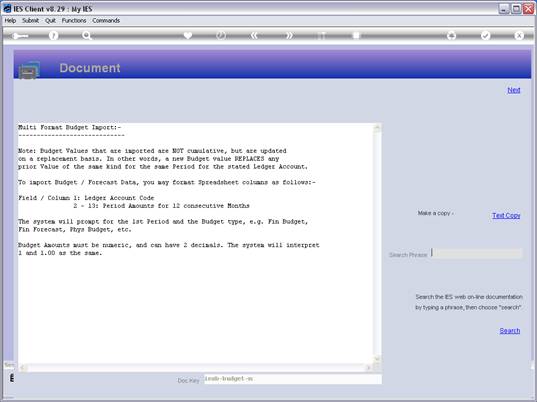
notes: The Data Layout View reveals the expected data format.
Slide 4
Slide
notes: So, in a spreadsheet context, each line will have 13 columns, where
column 1 is the Account Code, which is then followed by the 12 Budget
Values in the next 12 columns.
Slide 5
Slide
notes:
Slide 6
Slide
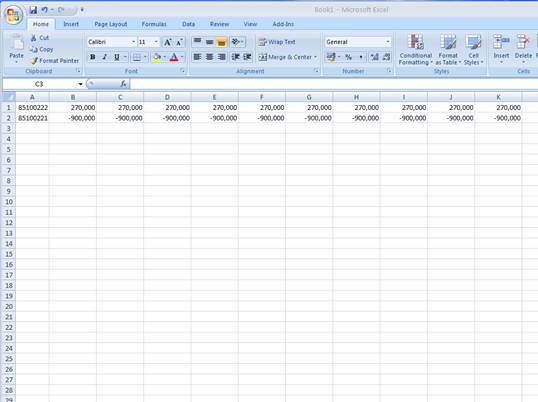
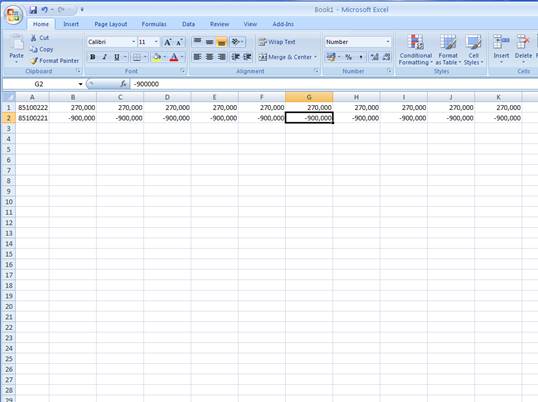
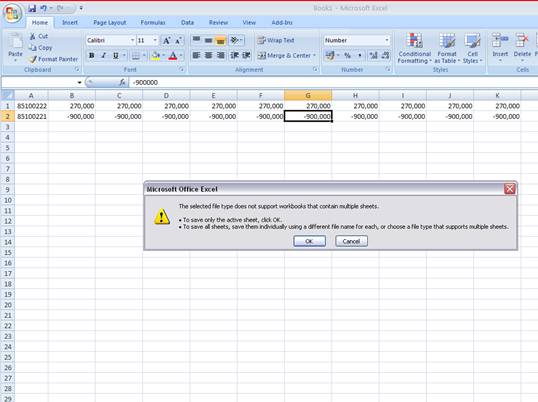
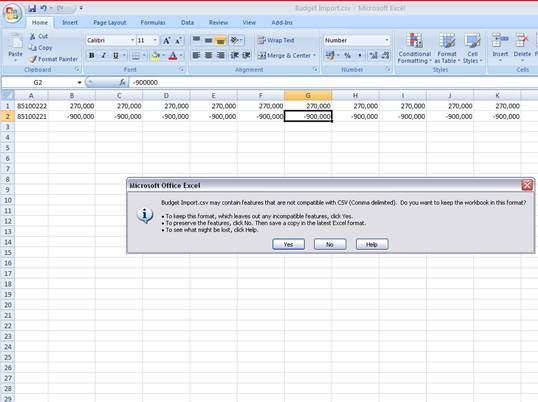
notes: Here is our example in the spreadsheet. We can do as many lines as
we wish, but in this example we use only 2 lines. The 1st line is an
Expense Budget with positive values, and the 2nd line is an Income Budget
with negative values.
Slide 7
Slide
notes:
Slide 8
Slide
notes:
Slide 9
Slide
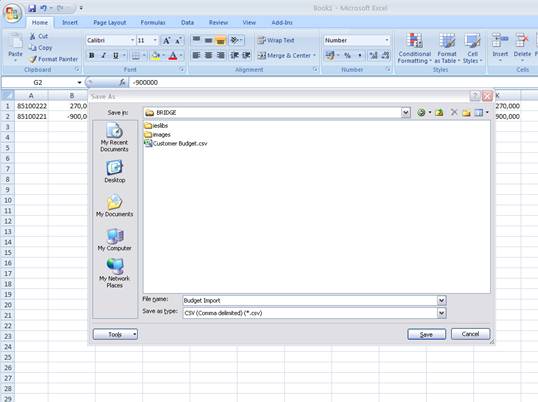
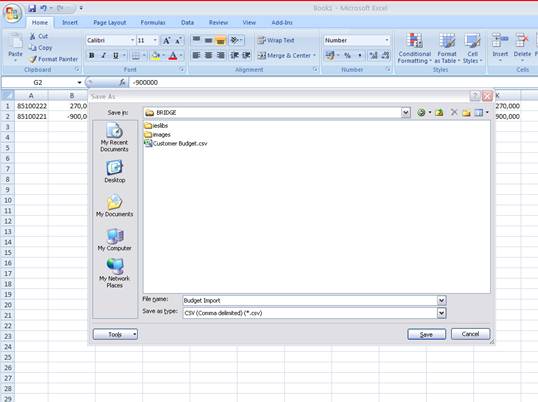
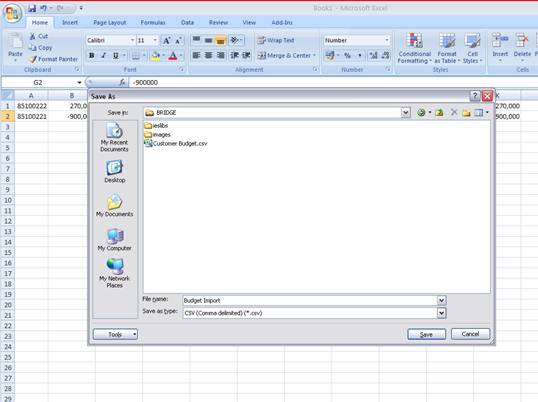
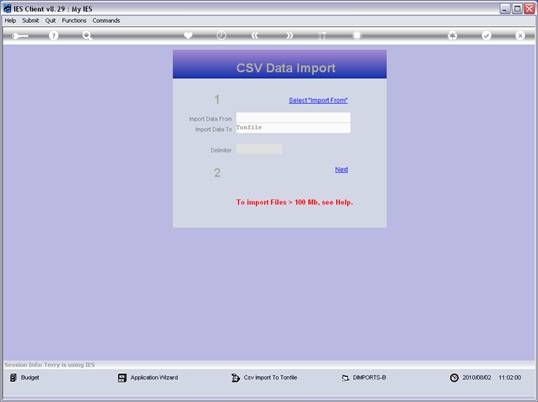
notes: In preparation of the import, we need to save the file in CSV format
on the BRIDGE folder.
Slide 10
Slide
notes:
Slide 11
Slide
notes:
Slide 12
Slide
notes:
Slide 13
Slide
notes:
Slide 14
Slide
notes:
Slide 15
Slide
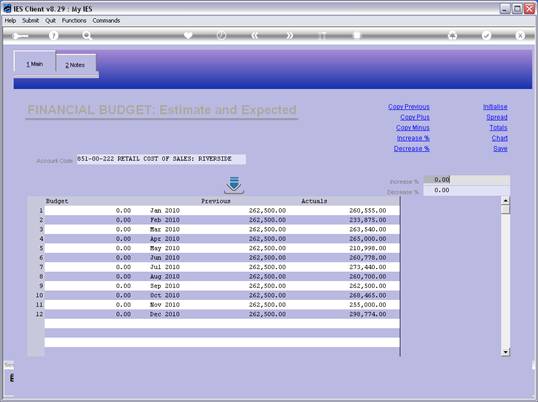
notes: Before we perform the import, we note this Budget screen where we
show one of the Accounts listed in the data, and we can see that there is
currently a zero Budget for this Account.
Slide 16
Slide
notes:
Slide 17
Slide
notes:
Slide 18
Slide
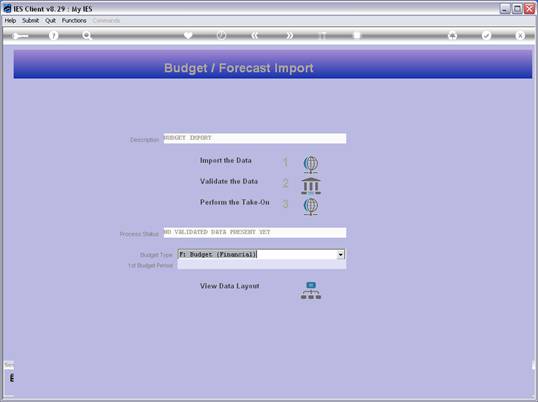
notes: Now we will perform the import.
Slide 19
Slide
notes:
Slide 20
Slide
notes:
Slide 21
Slide
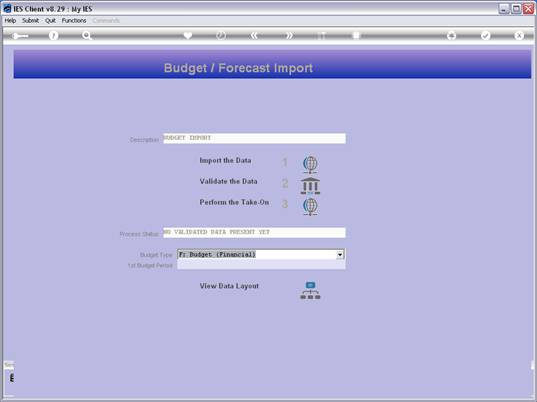
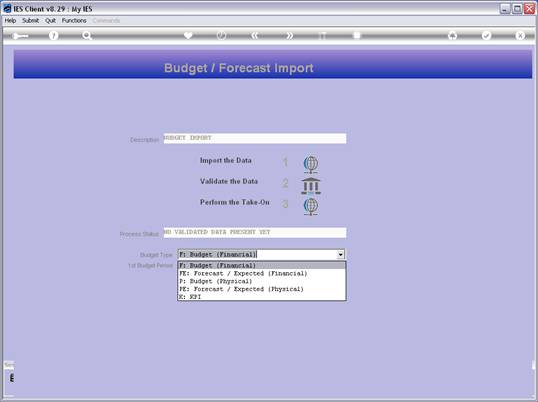
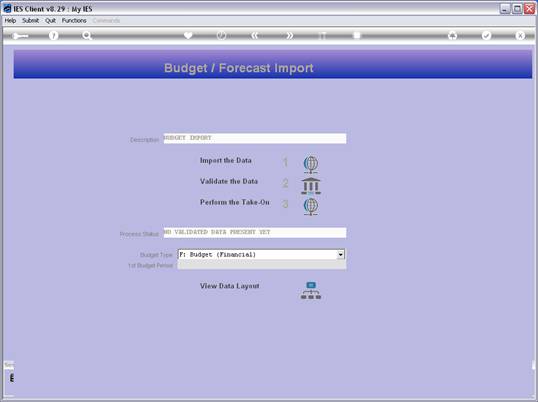
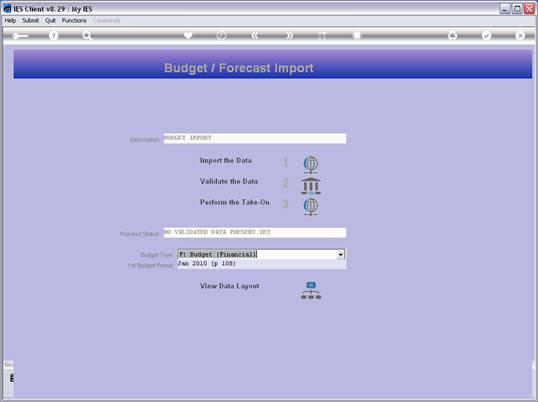
notes: We can import 5 different Budget Types with this option, and we
select the Financial option in this case.
Slide 22
Slide
notes:
Slide 23
Slide
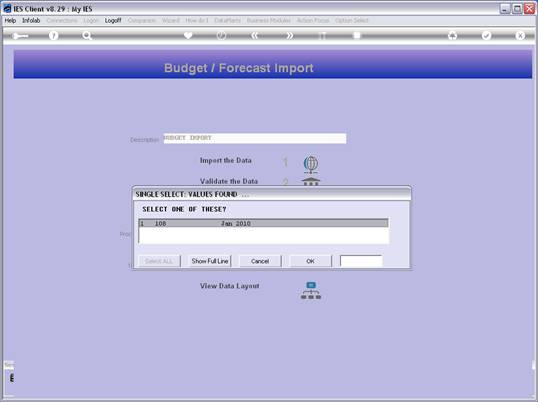
notes: The start Period for the Budget that we will import must be selected
now, and the other 11 Values for each Account will follow in the Months
thereafter.
Slide 24
Slide
notes:
Slide 25
Slide
notes:
Slide 26
Slide
notes:
Slide 27
Slide
notes:
Slide 28
Slide
notes:
Slide 29
Slide
notes:
Slide 30
Slide
notes:
Slide 31
Slide
notes:
Slide 32
Slide
notes:
Slide 33
Slide
notes:
Slide 34
Slide
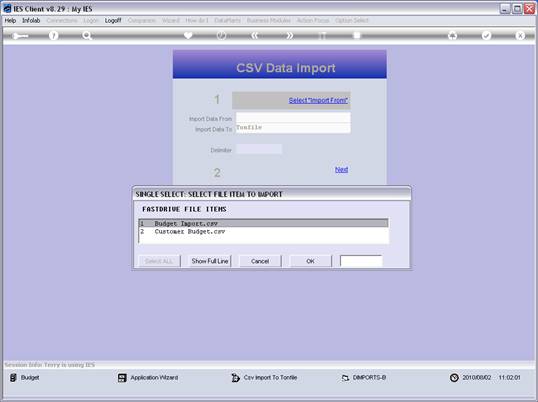
notes: We select the file that we have prepared for this import.
Slide 35
Slide
notes:
Slide 36
Slide
notes:
Slide 37
Slide
notes:
Slide 38
Slide
notes:
Slide 39
Slide
notes:
Slide 40
Slide
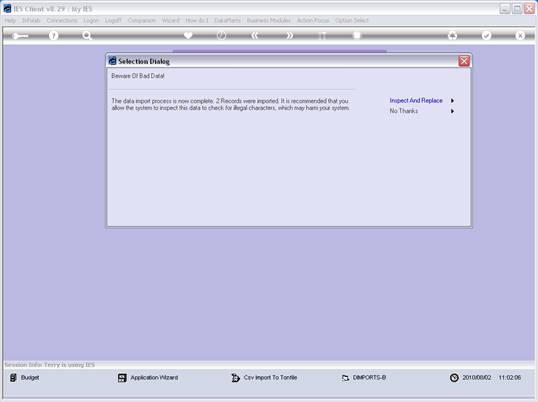
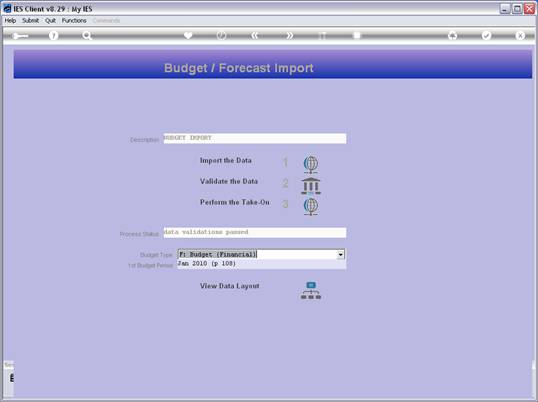
notes: And then we need to validate the data, otherwise we cannot perform
the 'take on' step.
Slide 41
Slide
notes:
Slide 42
Slide
notes:
Slide 43
Slide
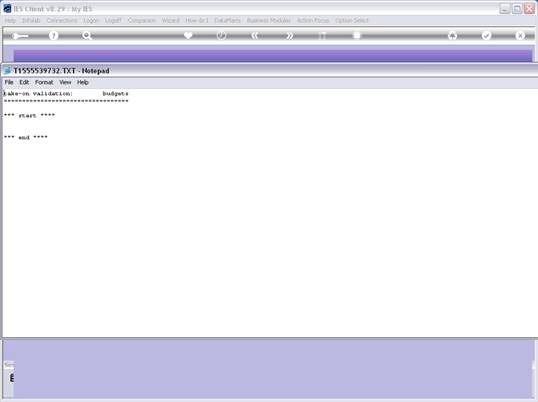
notes: No errors are allowed between the 'start' and 'end' messages. If
there are any, then we cannot do the import and need to correct the data
first.
Slide 44
Slide
notes:
Slide 45
Slide
notes:
Slide 46
Slide
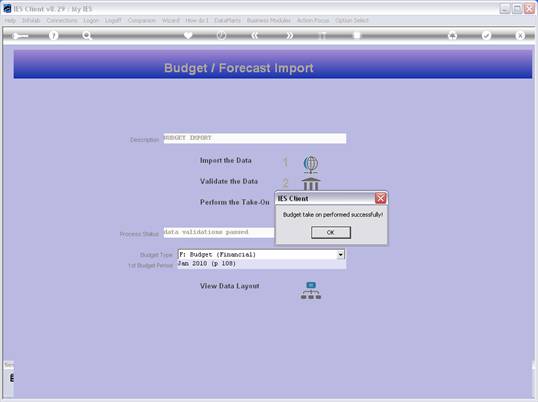
notes: Since the data validations have been passed, we can now perform the
'take on'.
Slide 47
Slide
notes:
Slide 48
Slide
notes:
Slide 49
Slide
notes:
Slide 50
Slide
notes:
Slide 51
Slide
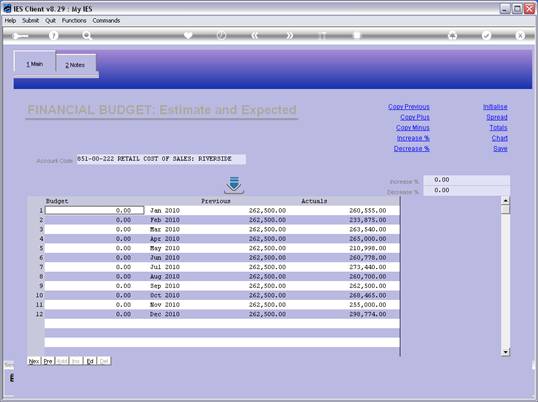
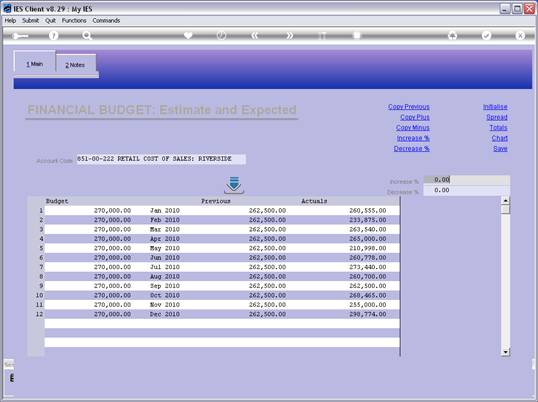
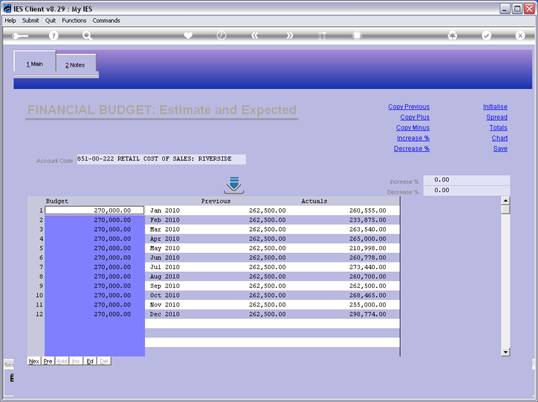
notes: Just to prove that our Budget 'take on' has worked properly, we show
the Account again that we looked at before, and now we can see the values
that were included in the data import.
Slide 52
Slide
notes:
Slide 53
Slide
notes: We can import Budget values as many times as we like, and each time
those Accounts that are included will have any current Budget overwritten
with the new values, while any Accounts not included will remain as is,
with or without any Budget values already in place.