Slide 1

Slide notes: We have considerable control over how wide data columns will display, and we will use this element of data to demonstrate our options.


Slide 2

Slide notes:


Slide 3

Slide notes: The data name that produces our target result is this one, called "description".


Slide 4

Slide notes:


Slide 5

Slide notes:


Slide 6

Slide notes: At our HTML settings we have Cut / Wrap, Width and Pixel Width attributes that we can apply, by data name, to control column widths. It is all rather automatically done by the system, and what we are showing now is only necessary to use when we specifically wish to change the default behaviour.


Slide 7

Slide notes:


Slide 8

Slide notes:


Slide 9

Slide notes:


Slide 10

Slide notes:


Slide 11

Slide notes: When we use Cut or Wrap, we specify a "c" or a "w". 'Cut' will actually truncate data, whereas 'wrap' will fold it to the next line.


Slide 12

Slide notes:


Slide 13

Slide notes: We will 1st demonstrate the "cut" option.


Slide 14

Slide notes:


Slide 15

Slide notes: And of course, "cut" and "wrap" always works in conjunction with "width".


Slide 16

Slide notes:


Slide 17

Slide notes: In this case, "width" refers to number of characters, and the default from the data dictionary is automatically shown, but we can change this to a value of our choice. By specifying 10 here, we are instructing that any result must be truncated i.e. "cut" after 10 characters.


Slide 18

Slide notes:


Slide 19

Slide notes:


Slide 20

Slide notes:


Slide 21

Slide notes:


Slide 22

Slide notes:


Slide 23

Slide notes:


Slide 24

Slide notes: Here we can clearly see the result, where all "descriptions" are cut at 10 characters.


Slide 25

Slide notes:


Slide 26

Slide notes:


Slide 27

Slide notes:


Slide 28

Slide notes: Next, we will demonstrate what the "wrap" option does, still using 10 characters as the width.


Slide 29

Slide notes:


Slide 30

Slide notes: And now, as we see, the data is not truncated, but rather folded to the next line, 10 characters at a time.


Slide 31

Slide notes:


Slide 32

Slide notes: 
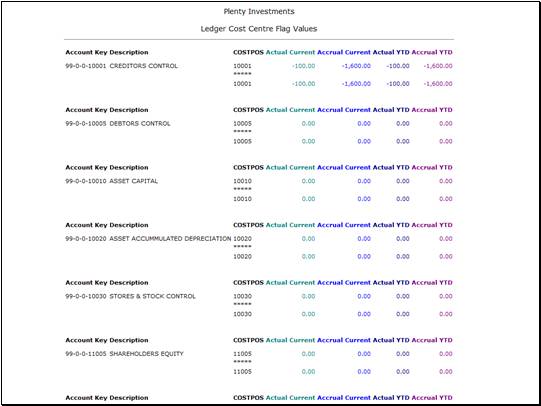
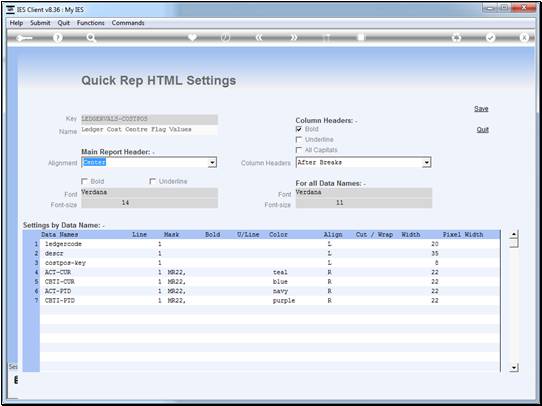
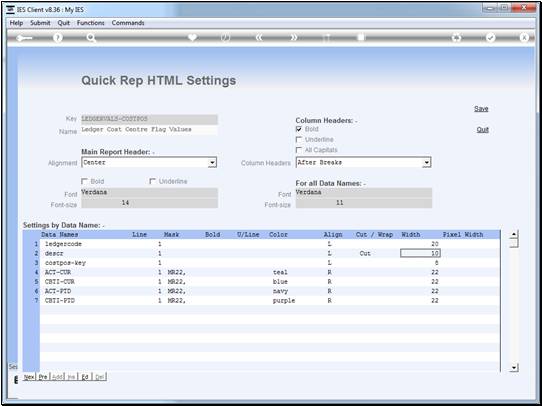
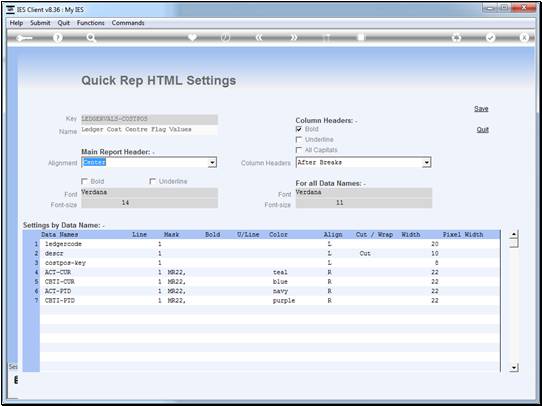
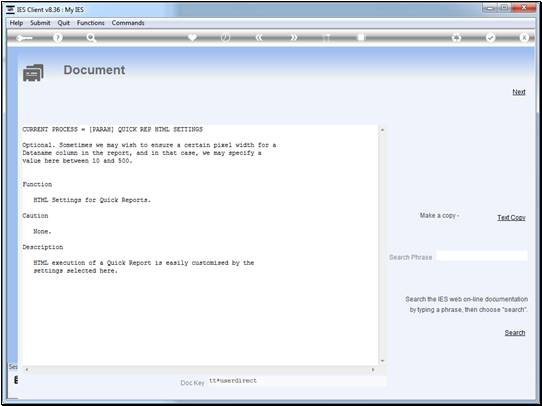
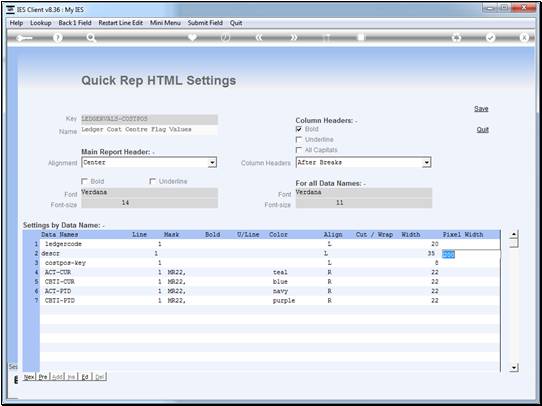
Pixel width is not used together with "Cut, Wrap, Width", but rather instead of. When we use the "pixel width" option, no data will be truncated but the browser will enforce a fixed width for the column, and where necessary will fold data to the next line.


Slide 33

Slide notes:


Slide 34

Slide notes:


Slide 35

Slide notes:


Slide 36

Slide notes: Here is the help.


Slide 37

Slide notes:


Slide 38

Slide notes:


Slide 39

Slide notes:


Slide 40

Slide notes:


Slide 41

Slide notes: The same column we have been looking at all along is now at a pixel width of 50, with the browser wrapping data as necessary.


Slide 42

Slide notes:


Slide 43

Slide notes:


Slide 44

Slide notes:


Slide 45

Slide notes:


Slide 46

Slide notes: Now we are at a pixel width of 200.


Slide 47

Slide notes:


Slide 48

Slide notes:


Slide 49

Slide notes:


Slide 50

Slide notes:


Slide 51

Slide notes:


Slide 52

Slide notes:


Slide 53

Slide notes: And when we do not specify any pixel width, then of course the browser will allow the column to expand to include all the data on 1 line, though still dependent on the needs of other columns.


Slide 54

Slide notes: