Slide
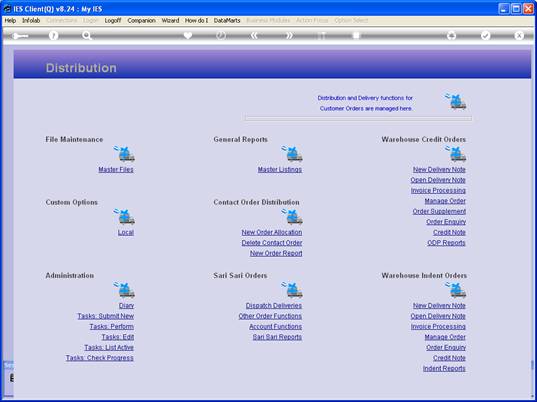
notes: At the Distribution Menu, when we choose 'Master Files', we can work
with the Delivery Route Master.
Slide 2
Slide
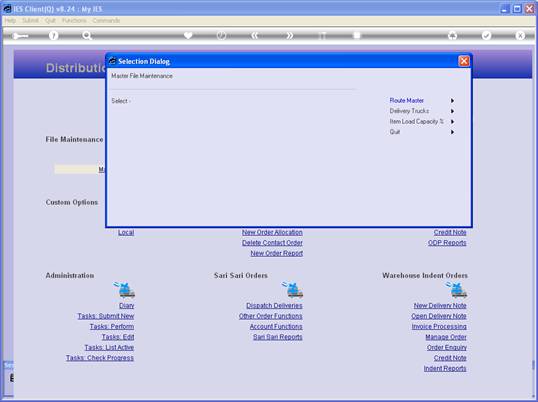
notes: The Route Master is used when we pre-organize Truck Deliveries
according to Route Stops.
Slide 3
Slide
notes:
Slide 4
Slide
notes:
Slide 5
Slide
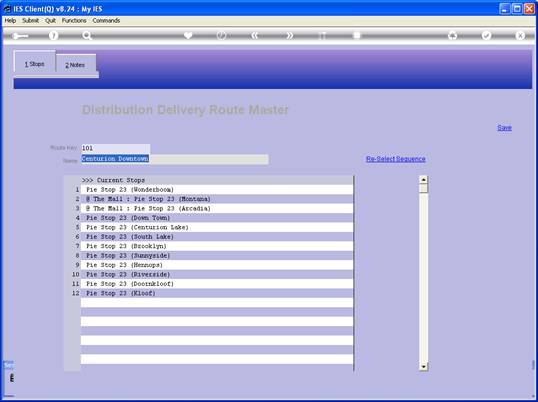
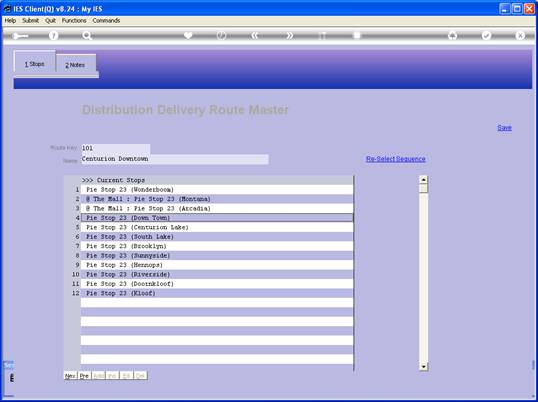
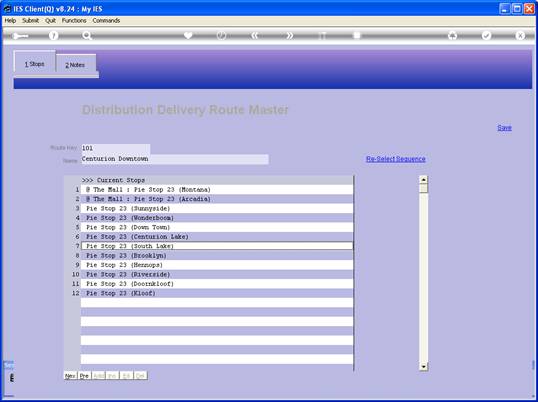
notes: The current Stops listed here appear automatically on the Route
Master when inserted from a Customer Delivery Stop, and we cannot add or
delete stops at the Master Record itself.
Slide 6
Slide
notes: But we can re-organize the sequence of Stops here.
Slide 7
Slide
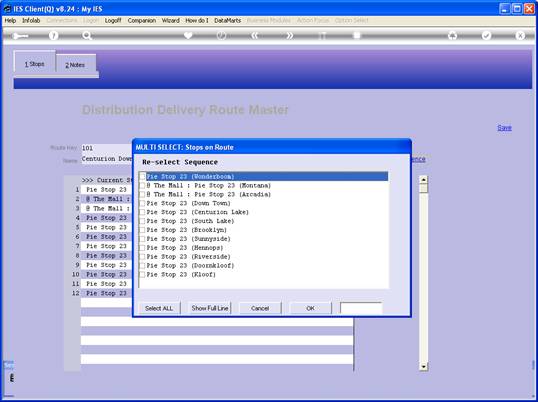
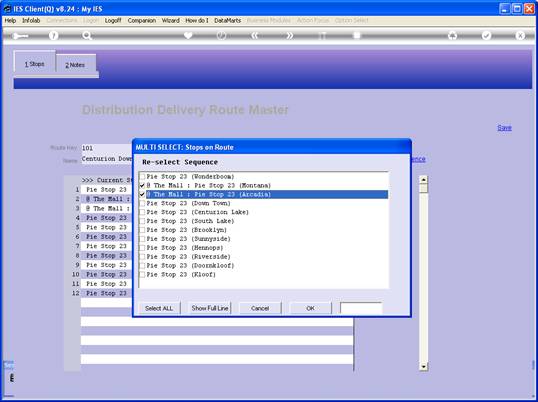
notes: If we re-select the sequence, we only need to re-select up to the
point of changes, and any un-selected Stops will fall into the remainder
sequence.
Slide 8
Slide
notes:
Slide 9
Slide
notes:
Slide 10
Slide
notes:
Slide 11
Slide
notes:
Slide 12
Slide
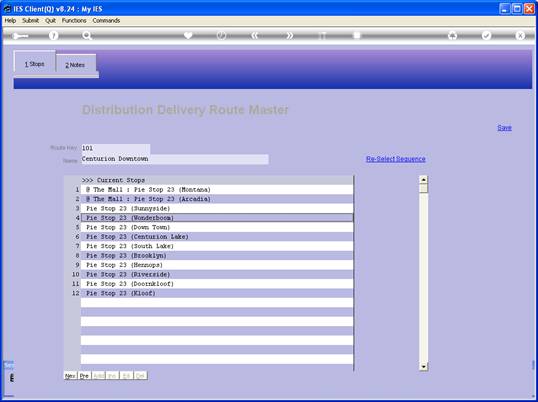
notes: And we can immediately see the result. We can also move any
individual Stop to another Row, by dbl-clicking on it.
Slide 13
Slide
notes:
Slide 14
Slide
notes:
Slide 15
Slide
notes: The Stop has now moved to position number 10.
Slide 16
Slide
notes:
Slide 17
Slide
notes:
Slide 18
Slide
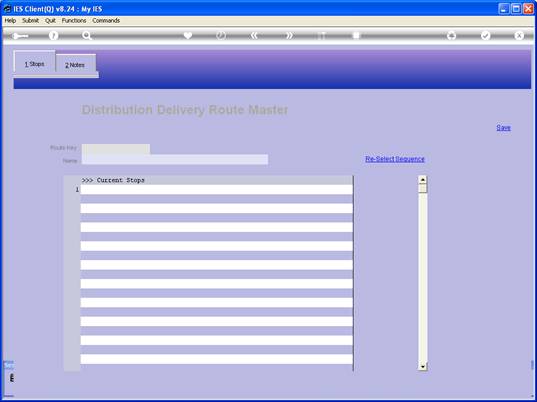
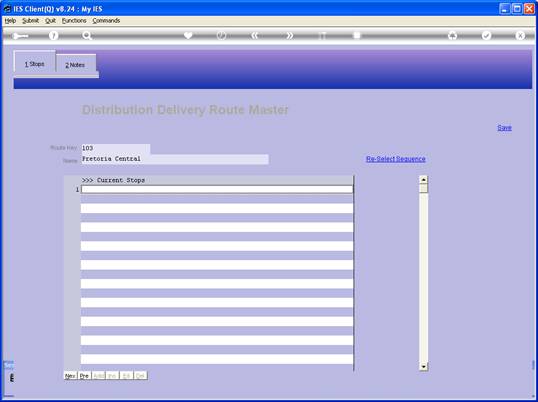
notes: When we make a new entry on the Route Master, it looks like this. We
give it a Key and a Name, and the Name can be changed at any time. The
Current Stops will be populated as we include them from Customer Delivery
Records.