Slide 1

Slide notes: The Job Master option that we find at File Maintenance is used for opening new Jobs and to maintain current Jobs.


Slide 2

Slide notes: There are integrated Applications in the system that will use the Job Costing system automatically and open Jobs as required, for example ODP Projects, Service Jobs and Manufacture. For Capital Expenditure, Fleet Management Items, Asset Operation Costing and other Costing Projects, we will open the Jobs manually.


Slide 3

Slide notes: The Job Key is of our own design, and depending on how widely we will use Job Costing, we may invent a suitable coding convention.


Slide 4

Slide notes: We are doing an example of opening a Job for a Light Delivery Vehicle. After specifying a new Job Key, we must provide a Description or Name for this Job.


Slide 5

Slide notes: And we always have to assign the Job to an existing Type. In this case, we already have a type for Light Delivery Vehicles, and the key is LDV.


Slide 6

Slide notes: By default, a new Job will presume to be in the open state. We can also state '2' for a closed state, and we would do that when we no longer want to allow further transactions on a Job.


Slide 7

Slide notes: The Report Group will default to a value of DEF, and if we wish to use Report Groups as a selection Value, we can change that accordingly.


Slide 8

Slide notes: Every Job must be assigned to a Department.


Slide 9

Slide notes: When we reach this point, we can actually save the Job, because the minimum requirements for a Job have now been met.


Slide 10

Slide notes: However, we will usually do more. In this example, we have a Type called LDV, and this Type is already set up on the Type master with the standard Cost Types and Ledger Debits that we use for our LDV Jobs. Therefore, by choosing 'Inherit' we can populate the new Job with the desired properties.


Slide 11

Slide notes:


Slide 12

Slide notes: Now we already have the standard Cost Types that we use with Light Delivery Vehicles, and it simplifies the setting up of the new Job.


Slide 13

Slide notes: Once again, if we want, we can now save the new Job record.


Slide 14

Slide notes: However, depending on the kind of Job we are opening, we may want to specify some of the other possible values for managing a Job. If we specify an appropriate Ledger Account for Order Charges, then this Account may be used for Purchase Order charges, i.e. if we order any Direct Items for this Job on a Purchase Order.


Slide 15

Slide notes:


Slide 16

Slide notes:


Slide 17

Slide notes: The Help explains how and when this Account, if specified, may be used.


Slide 18

Slide notes:


Slide 19

Slide notes: We will only check the Manufacture Re-Charge option if this Job will be used for re-charging from Manufacture.


Slide 20

Slide notes: And we will check the Meter option for any Job that is a Vehicle or an Equipment Item that uses a Kilometer or Hour Meter.


Slide 21

Slide notes:


Slide 22

Slide notes: In the case of using a Meter, we need to specify at what point the Meter may roll over, having reached its maximum. That way, the system can automatically derive Meter Usage from Meter reading Values that are processed elsewhere in the system.


Slide 23

Slide notes: The maximum expected usage in a Financial Period is used as an error prevention mechanism. For example, if we do not anticipate that this Vehicle will ever travel more than 5,000 Km in 1 Month, then that is the Period Maximum value that we state.


Slide 24

Slide notes:


Slide 25

Slide notes: For metered Jobs, we can choose between a Kilometer and an Hour meter.


Slide 26

Slide notes: In some cases, for example internal costing for an 'outside' Job for a Customer, we may want to indicate the Customer Order Number.


Slide 27

Slide notes:


Slide 28

Slide notes:


Slide 29

Slide notes: We can also attach a Customer Directive, i.e. set of instructions, but the Job must first be opened, i.e. saved before we can do that.


Slide 30

Slide notes:


Slide 31

Slide 
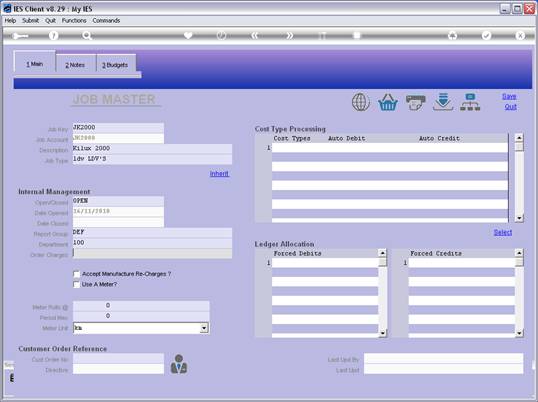
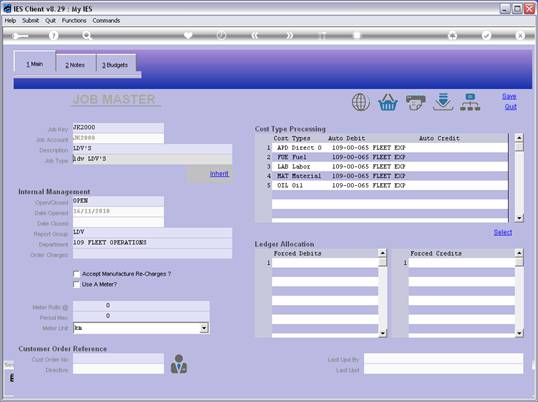
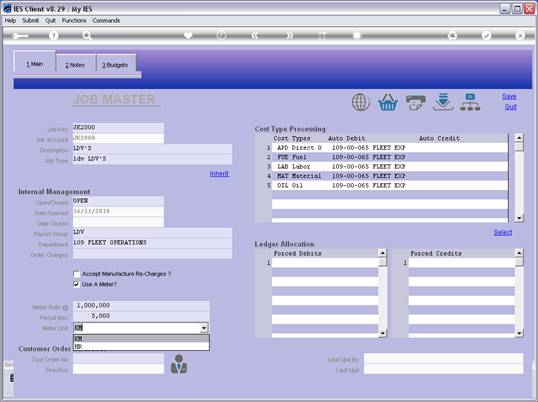
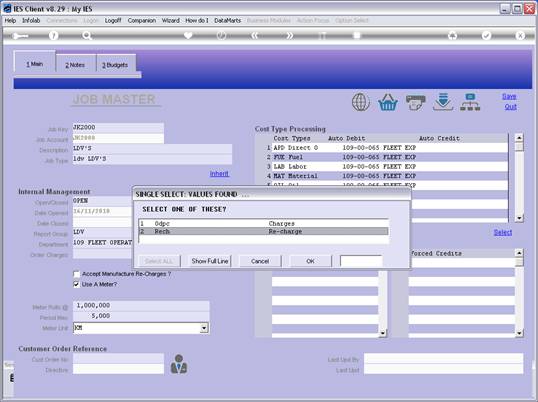
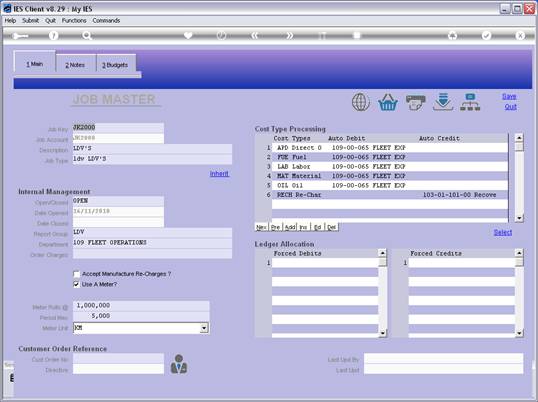
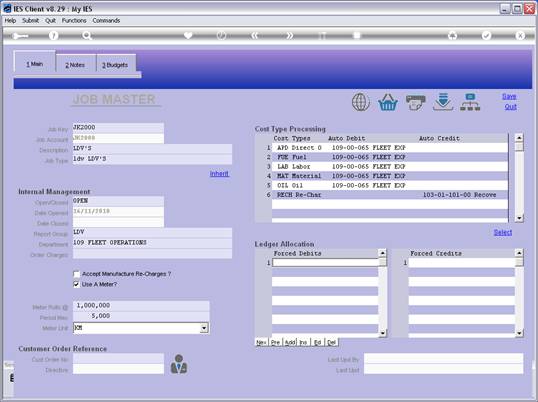
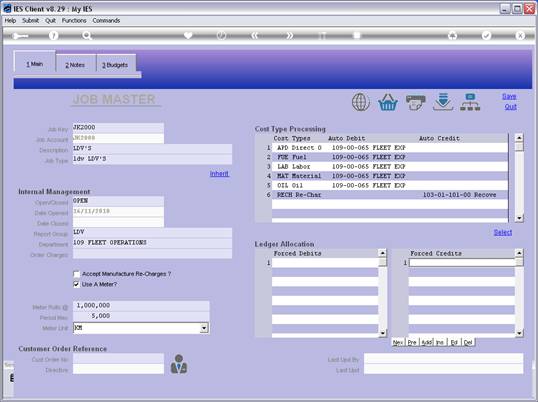
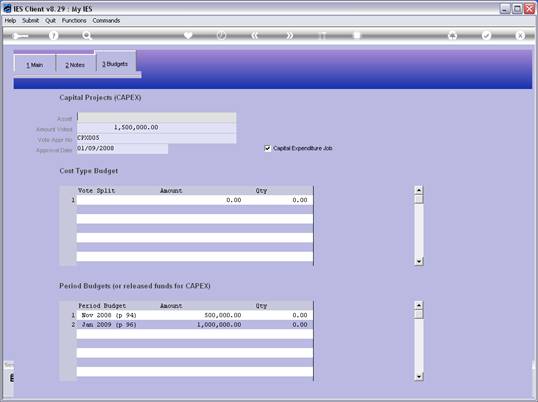
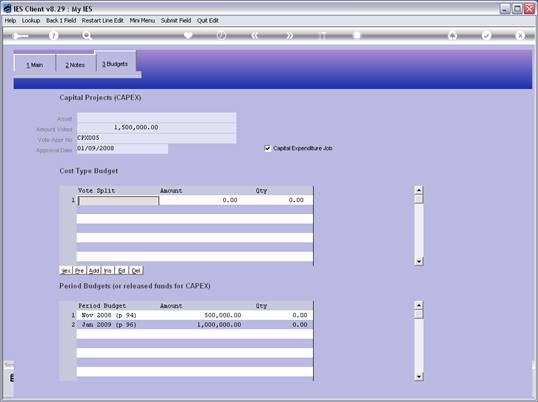
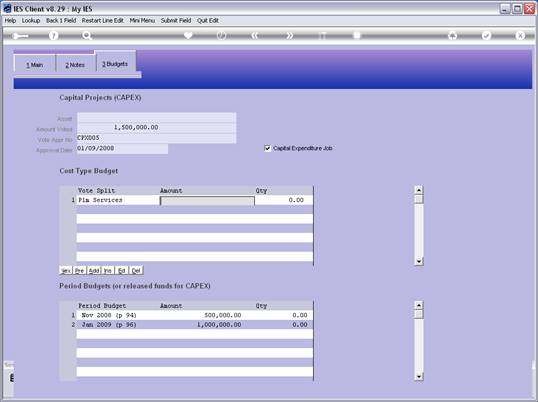
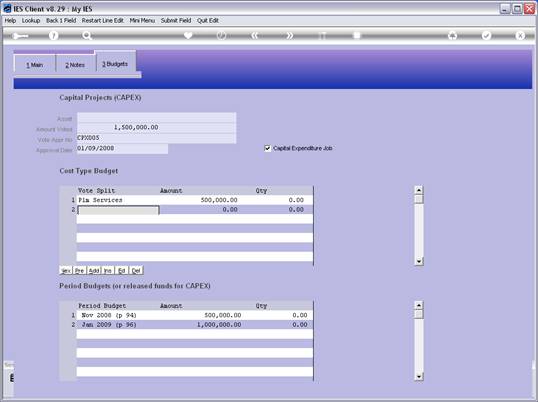
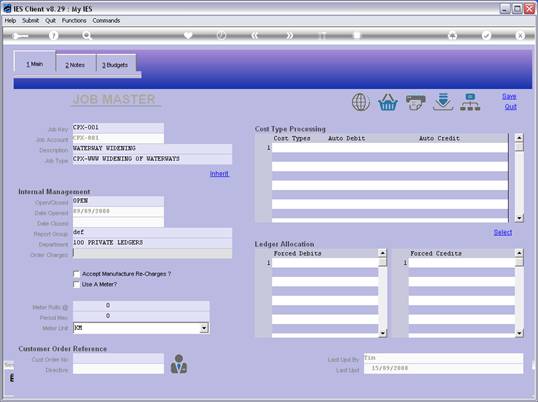
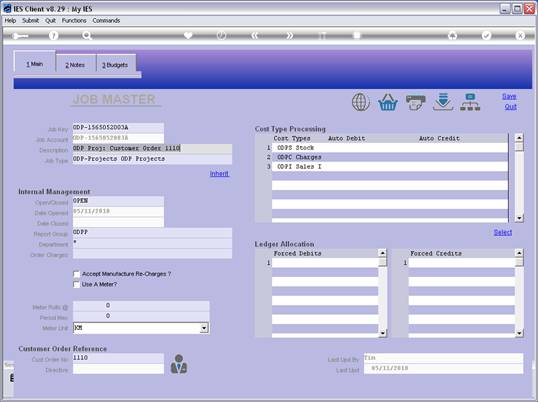
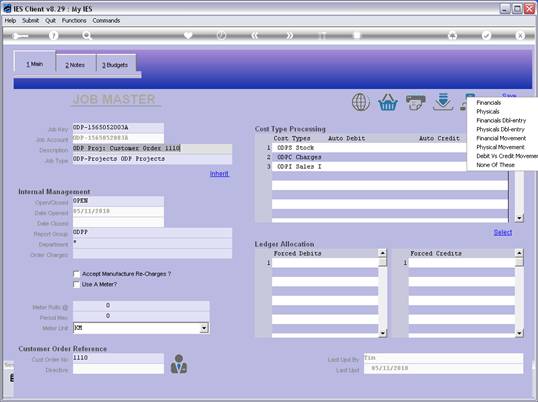
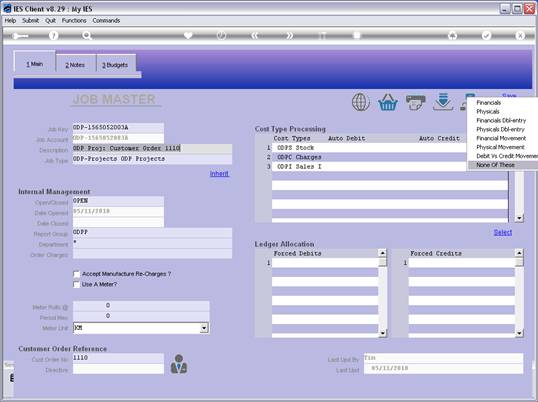
notes: Whether we have used inheritance or not, we can make manual updates to the list of Cost Types to be used with this Job, and we can also make changes in future, i.e. after opening the Job. If we have no Cost Types listed for a Job, then the system will allow any Cost Type to be processed for the Job, but once we list 1 or more Cost Types, then only the listed Cost Types will be allowed for processing with this Job.


Slide 32

Slide notes: Any Cost Type can be listed with or without Accounts to use for Debits and Credits. If we specify Debits, as we see here, then charges that are processed for those Cost Types will automatically use the listed GL Accounts for debiting, and likewise for Credits. A Cost Type without Debit and Credit Accounts will require the necessary Account to be specified when transacted.


Slide 33

Slide notes:


Slide 34

Slide notes:


Slide 35

Slide notes:


Slide 36

Slide notes:


Slide 37

Slide notes:


Slide 38

Slide notes:


Slide 39

Slide notes:


Slide 40

Slide notes:


Slide 41

Slide notes:


Slide 42

Slide notes:


Slide 43

Slide notes:


Slide 44

Slide notes: For Cost Types associated with Charges, there is no need to specify Credit Accounts as they will not be used, but at the same time it is allowed. For Cost Types associated with Income or Recoveries, we may specify the Auto Credit instead.


Slide 45

Slide notes:


Slide 46

Slide notes:


Slide 47

Slide notes:


Slide 48

Slide notes:


Slide 49

Slide notes:


Slide 50

Slide notes:


Slide 51

Slide notes:


Slide 52

Slide notes:


Slide 53

Slide notes:


Slide 54

Slide notes:


Slide 55

Slide notes: Forced Debits and Credits, if listed, will limit the Accounts that may be used for Cost Type processing, where not already specified with the Cost Types. In other words, if we list 1 or more Forced Debits, then ONLY those Accounts may be used to debit the Job.


Slide 56

Slide notes:


Slide 57

Slide notes:


Slide 58

Slide notes: Here is the Help on the matter.


Slide 59

Slide notes:


Slide 60

Slide notes:


Slide 61

Slide notes:


Slide 62

Slide notes:


Slide 63

Slide notes: At Work Notes, we may record and update any Notes for this Job during the course of its useful life.


Slide 64

Slide notes:


Slide 65

Slide notes:


Slide 66

Slide notes: Budgeting is only applicable to certain kinds of Jobs, for example Costing Jobs where a Budget is required, and of course for Capital Expenditure Projects.


Slide 67

Slide notes: So here we have an example of a Capital Expenditure project.


Slide 68

Slide notes: For any Job that is also on the Asset Register, for example a Vehicle or Equipment Item, we may establish a link to the Asset register by stating the Asset Number, and that is independent of whether we use a Budget or whether it is a Capital Expenditure Project.


Slide 69

Slide notes: For CAPEX Jobs, we may want to indicate the Amount Voted, the Vote Approval Number and Approval Date. These indicators are shown on the CAPEX Reports.


Slide 70

Slide notes:


Slide 71

Slide notes:


Slide 72

Slide notes: And we check the CAPEX option only for real Capital Expenditure Projects, otherwise unwanted Jobs may also appear on the CAPEX Reporting system.


Slide 73

Slide notes: Here we see an example of a Budget, in this case for 2 Periods. We can budget by Period and also by Cost Type, or use only 1 of the methods on any Job.


Slide 74

Slide notes:


Slide 75

Slide notes:


Slide 76

Slide notes:


Slide 77

Slide notes:


Slide 78

Slide notes:


Slide 79

Slide notes:


Slide 80

Slide notes:


Slide 81

Slide notes: From any existing Job, we can enter directly into the Job Intelligence system.


Slide 82

Slide notes:


Slide 83

Slide notes:


Slide 84

Slide notes:


Slide 85

Slide notes:


Slide 86

Slide notes: If there are any linked Purchase Orders where any Items have been ordered directly for this Job, then we can drill into those Orders on an enquiry basis.


Slide 87

Slide notes:


Slide 88

Slide notes: We can perform any of the listed Print Options for the Job.


Slide 89

Slide notes: And we can drill into any Transactions ever processed on this Job.


Slide 90

Slide notes:


Slide 91

Slide notes:


Slide 92

Slide notes:


Slide 93

Slide notes:


Slide 94

Slide notes:


Slide 95

Slide notes:


Slide 96

Slide notes:


Slide 97

Slide notes:


Slide 98

Slide notes: We can also drill into any of the adjusted Job Views.


Slide 99

Slide notes:


Slide 100

Slide notes: