Slide
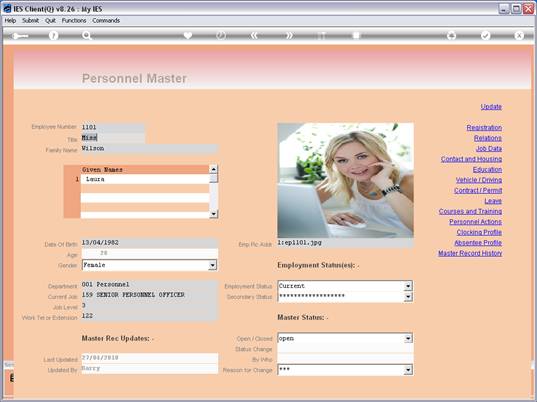
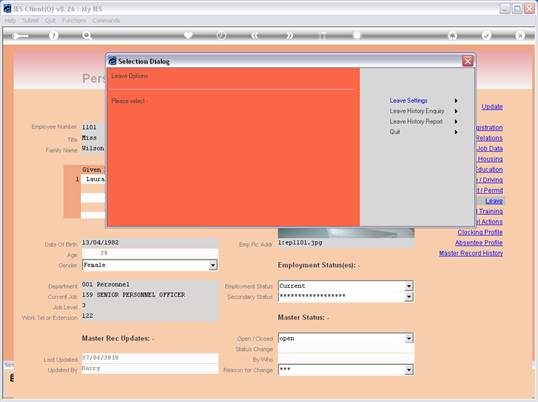
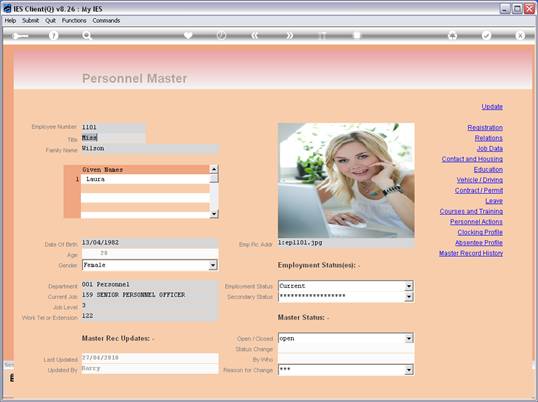
notes: From the Employee Master, we can choose the 'Leave' function to
review and update the Employee's Leave Settings, and to perform Leave
Enquiries and Leave Reports for this Employee.
Slide 2
Slide
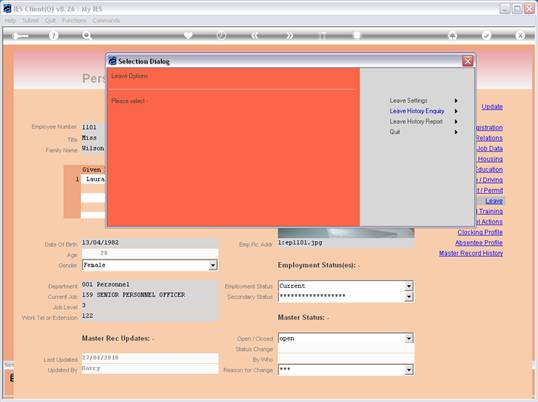
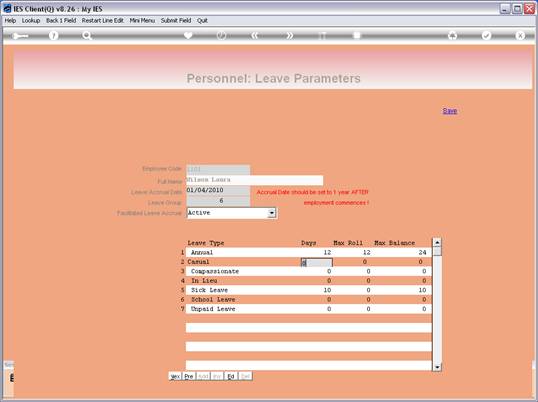
notes: We start with the Leave Settings.
Slide 3
Slide
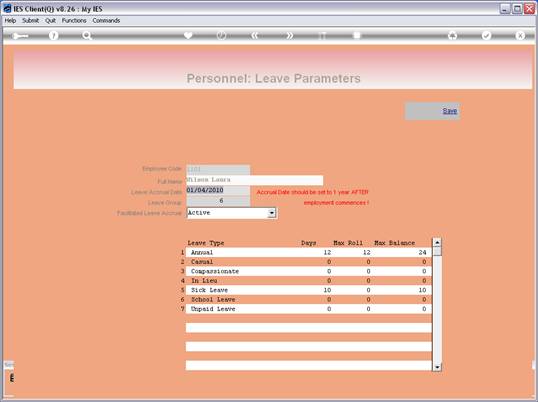
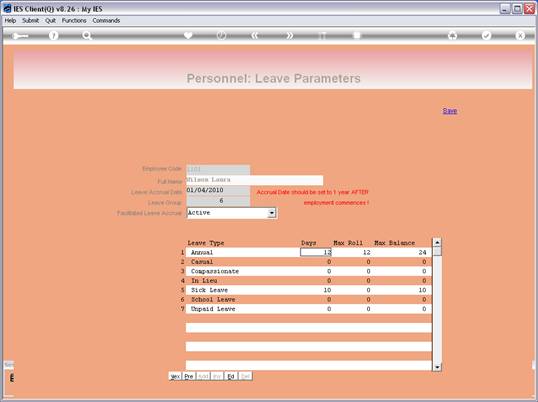
notes: The Leave Accrual Date is normally set to 1 year after Employment
commences.
Slide 4
Slide
notes: A leave group option is selected, dependent on whether the Employee
works a 5 or 6 day week, or perhaps works shifts.
Slide 5
Slide
notes: If the Employee should be included with en masse Leave Accrual
actions, then we select an 'active' state for that.
Slide 6
Slide
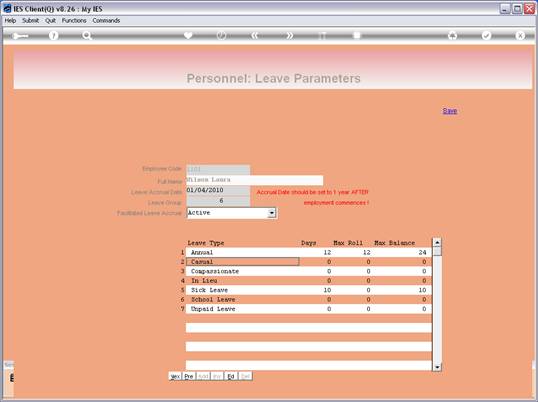
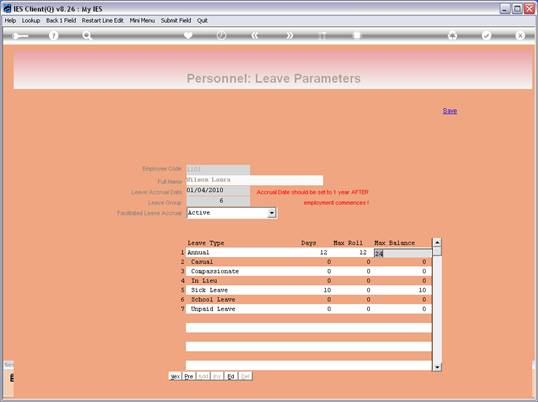
notes: The Leave Types as defined on the Leave Type Master are
automatically loaded for each Employee, but the indicators to apply will
all default to zero, and we change only those that should be applied.
Slide 7
Slide
notes:
Slide 8
Slide
notes:
Slide 9
Slide
notes:
Slide 10
Slide
notes:
Slide 11
Slide
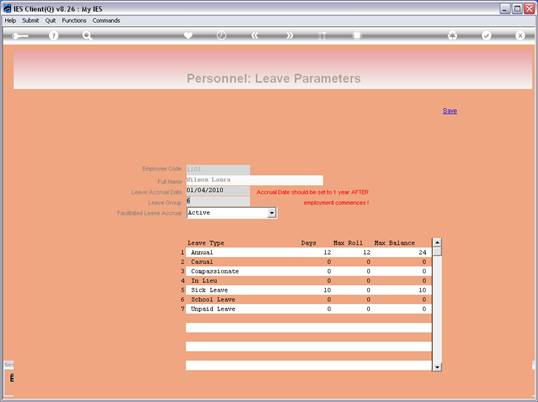
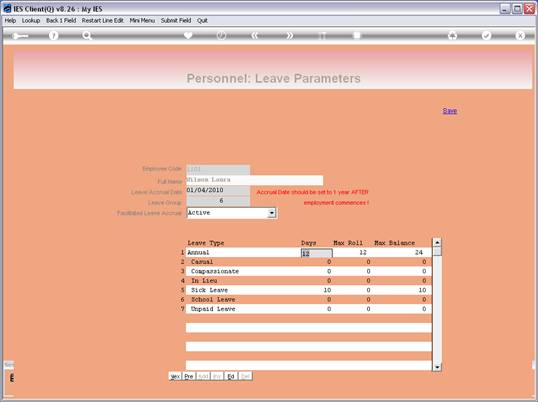
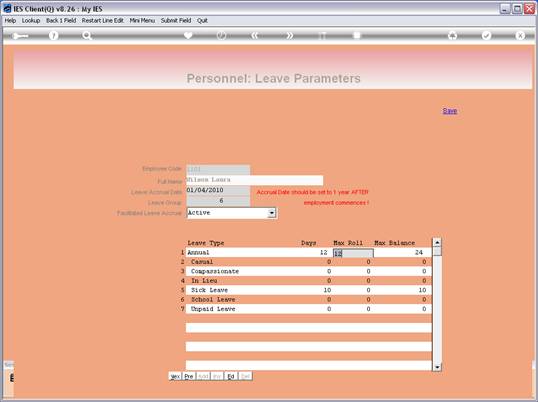
notes: Leave Days, by type, are stated as would accrue for this Employee in
a year.
Slide 12
Slide
notes:
Slide 13
Slide
notes:
Slide 14
Slide
notes:
Slide 15
Slide
notes:
Slide 16
Slide
notes:
Slide 17
Slide
notes:
Slide 18
Slide
notes:
Slide 19
Slide
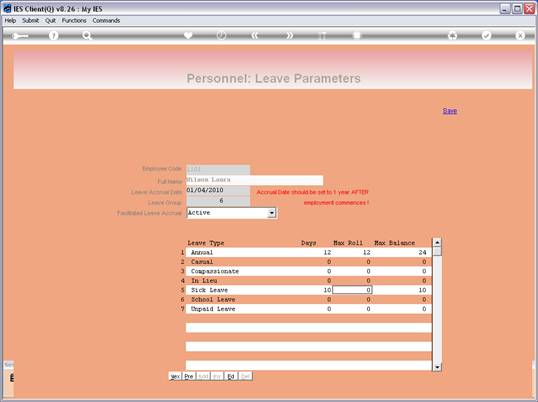
notes: The maximum number of days that may be rolled over to the next year,
if unused, are also indicated by type.
Slide 20
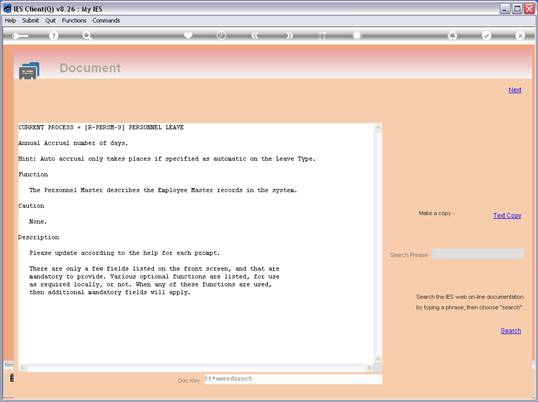
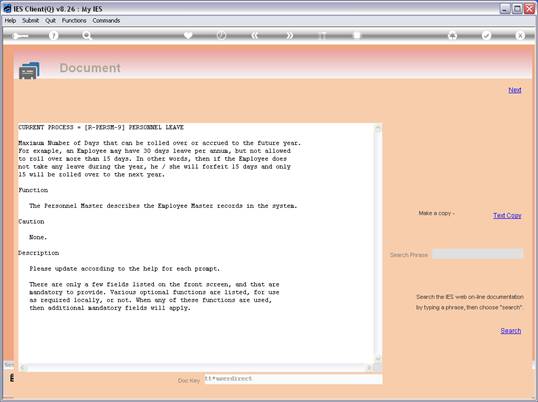
Slide notes: Here we have the explanation.
Slide 21
Slide
notes:
Slide 22
Slide
notes:
Slide 23
Slide
notes:
Slide 24
Slide
notes:
Slide 25
Slide
notes:
Slide 26
Slide
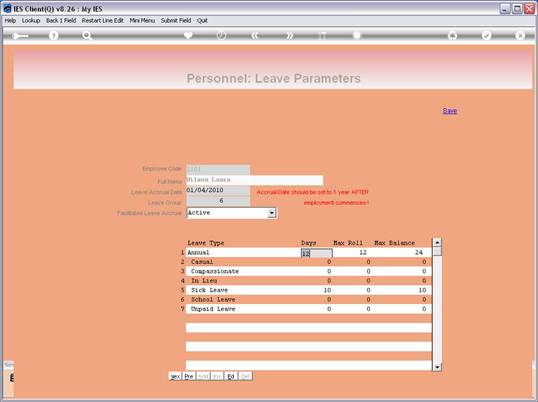
notes: And we have also a maximum balance that may be applied, and which is
checked when Leave Accrual is performed.
Slide 27
Slide
notes: This is the explanation of how it works.
Slide 28
Slide
notes:
Slide 29
Slide
notes:
Slide 30
Slide
notes: As we can see in this example, the Annual and Sick Leave are the
only ones for which the Employee automatically qualifies in any year, and
the Sick Leave is never rolled over to another year according to these
settings.
Slide 31
Slide
notes:
Slide 32
Slide
notes:
Slide 33
Slide
notes:
Slide 34
Slide
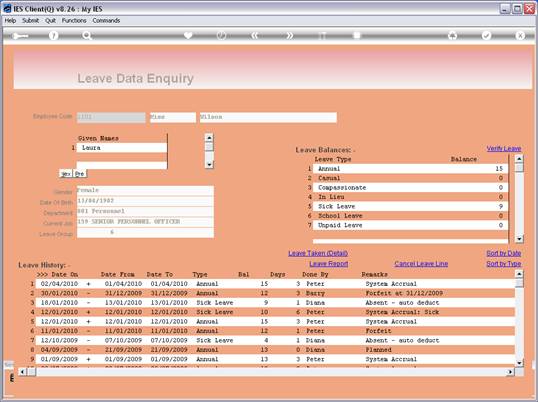
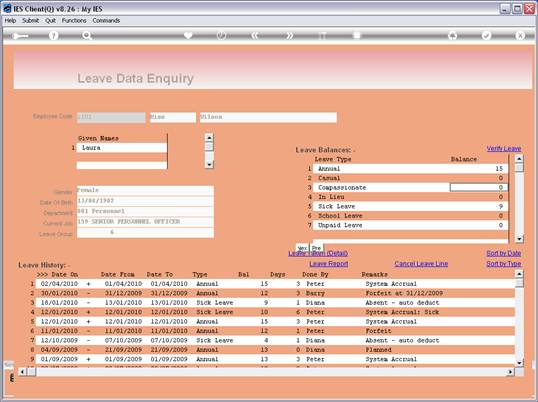
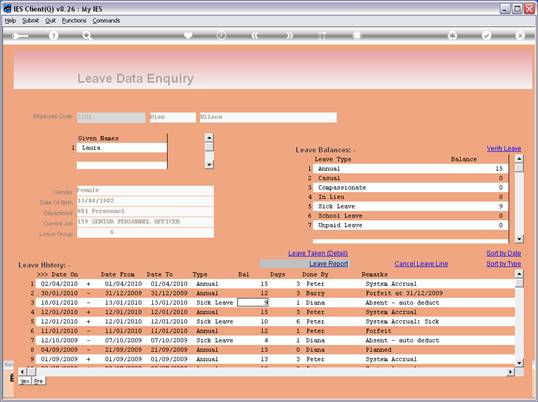
notes: Next, we look at the Leave Enquiry.
Slide 35
Slide
notes:
Slide 36
Slide
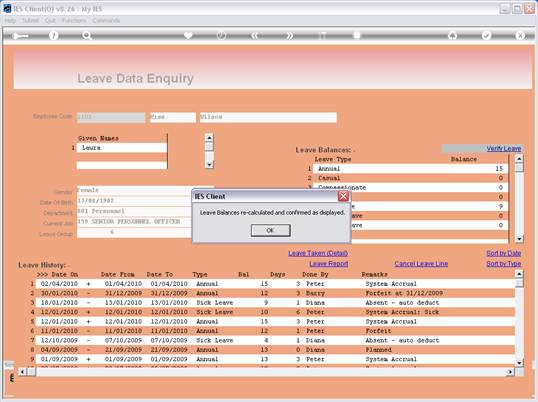
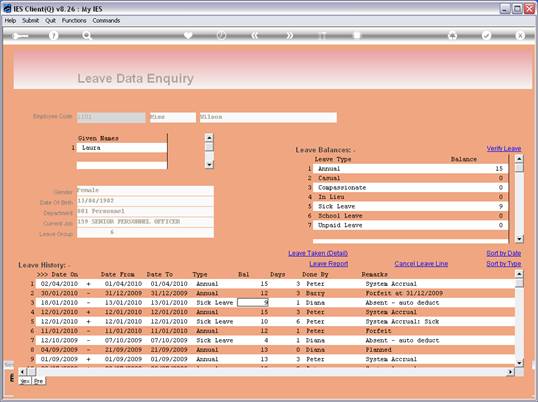
notes: The current balances for all Leave Types are shown in a separate
table, and can be verified again if we require a double check on that.
Slide 37
Slide
notes:
Slide 38
Slide
notes:
Slide 39
Slide
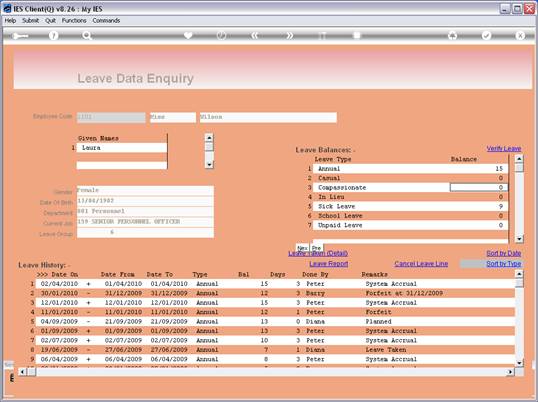
notes: The History of Leave Taken can be sorted by Leave Type or by Date
when recorded.
Slide 40
Slide
notes: Now all the Annual type Leave Transactions are grouped together.
Slide 41
Slide
notes:
Slide 42
Slide
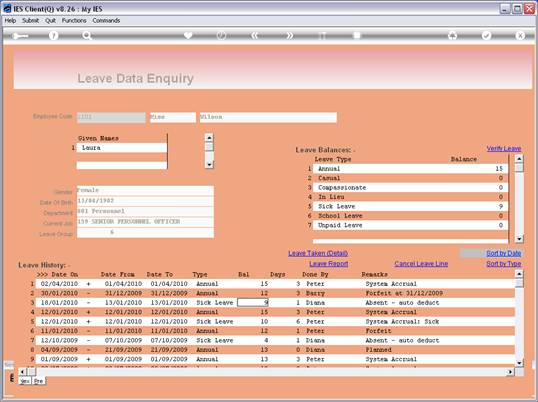
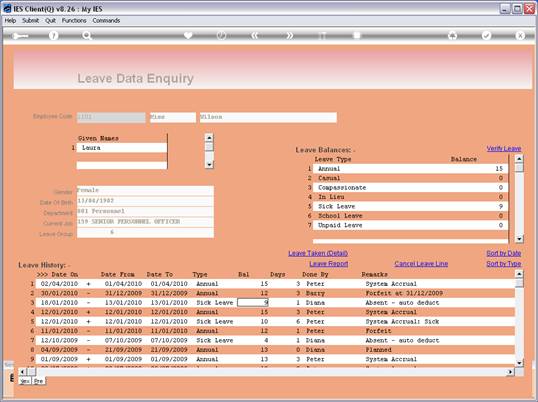
notes: And now it is back in date sequence again.
Slide 43
Slide
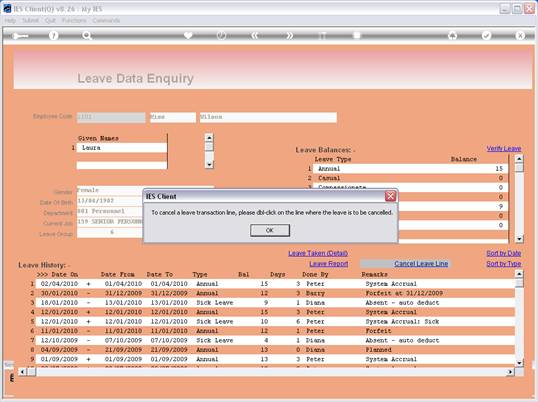
notes: It is possible to cancel a Leave Transaction here, but it cannot be
removed and the history will be clearly shown.
Slide 44
Slide
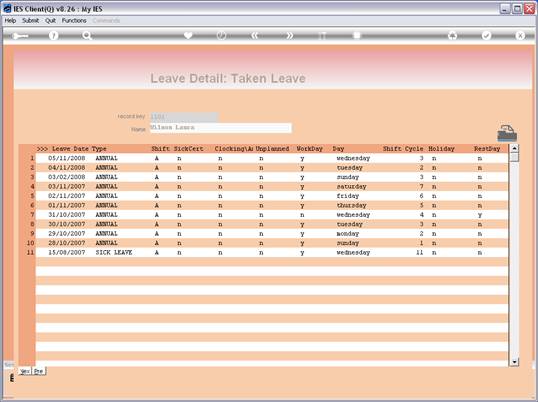
notes: We can also view the Leave Taken with management indicators.
Slide 45
Slide
notes: And this Leave detail can also be printed by clicking the print
icon.
Slide 46
Slide
notes:
Slide 47
Slide
notes:
Slide 48
Slide
notes:
Slide 49
Slide
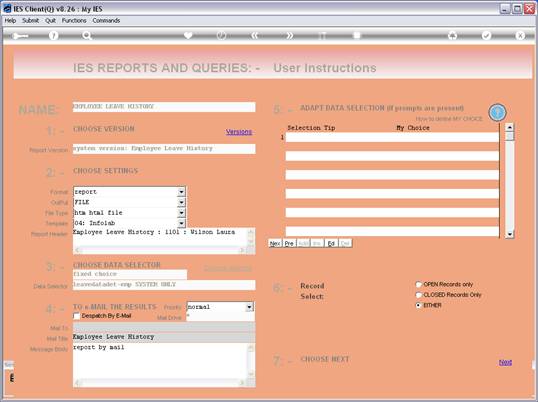
notes: The 'Leave Report' option will produce a Report of the Leave History
for this Employee.
Slide 50
Slide
notes:
Slide 51
Slide
notes:
Slide 52
Slide
notes: The Leave History Report can also be selected from the primary Leave
options.
Slide 53
Slide
notes:
Slide 54
Slide
notes:
Slide 55
Slide
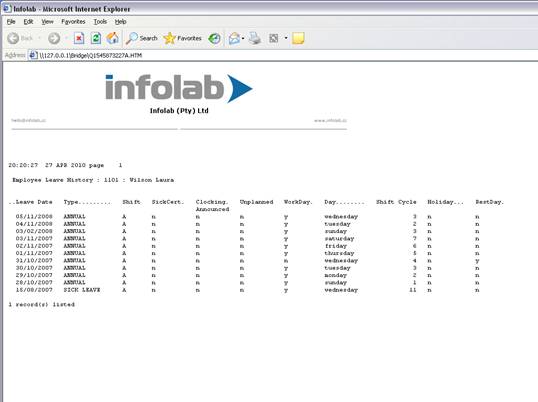
notes: And here we have an example of an Employee Leave History Report.