Slide notes:
We will regularly, daily, capture and process Man Journals.
Slide 2
Slide notes:
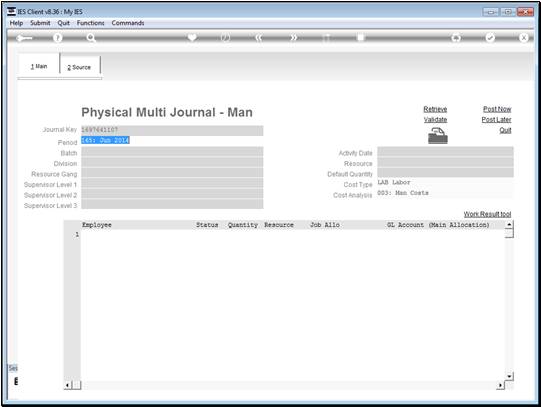
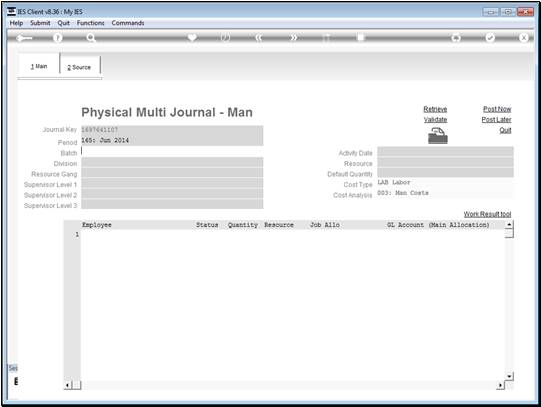
The Journal option we get is derived from what is specified at the Set up.
The Journals are always for a period, and always for a day in the Calendar
Month for that Period, since the Payroll for the Month will also use these
Journals.
Slide 3
Slide notes:
Slide 4
Slide notes:
Slide 5
Slide notes:
Slide 6
Slide notes:
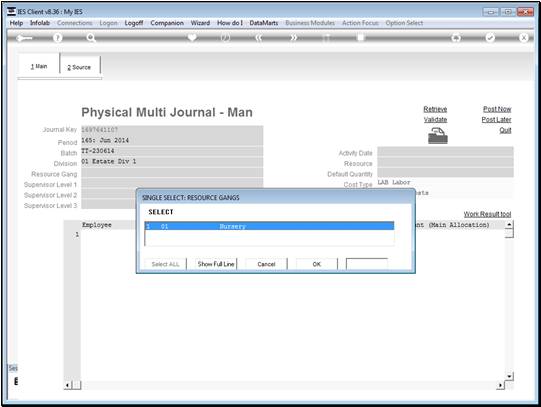
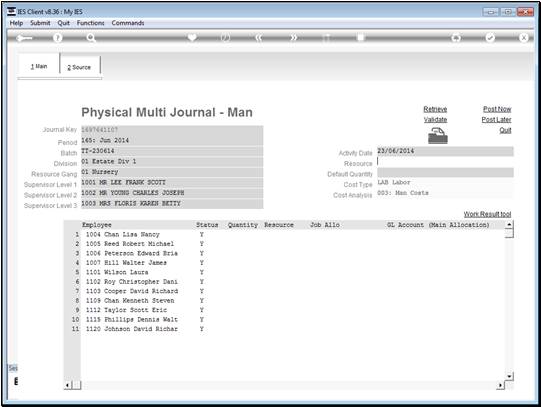
The system automatically offers selection of a Man Gang, for which we will
process the Journal.
Slide 7
Slide notes:
Slide 8
Slide notes:
Slide 9
Slide notes:
Slide 10
Slide notes:
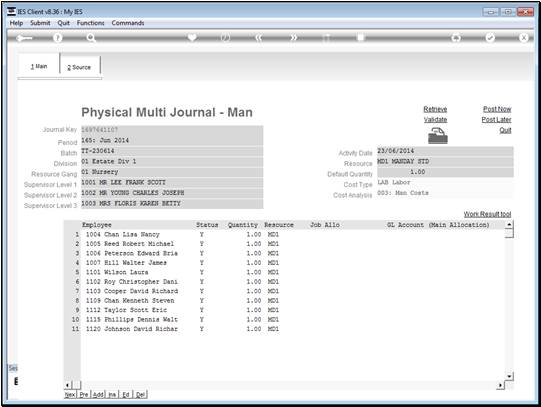
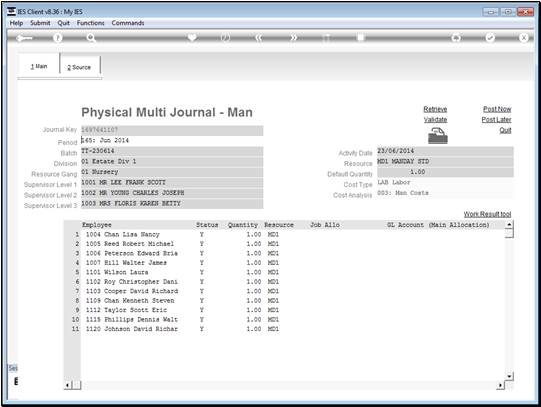
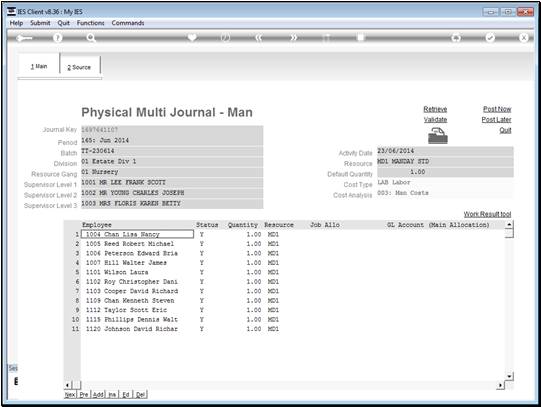
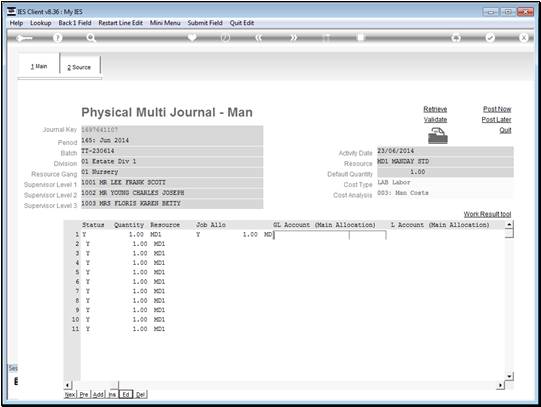
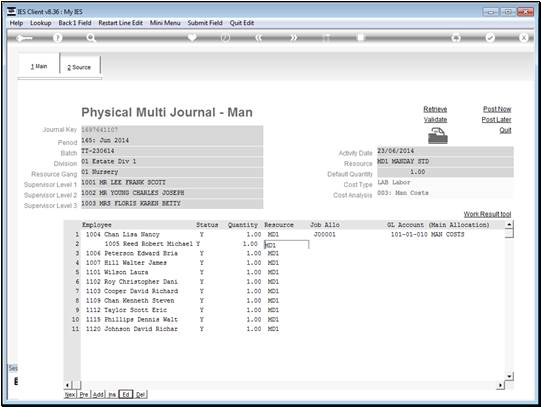
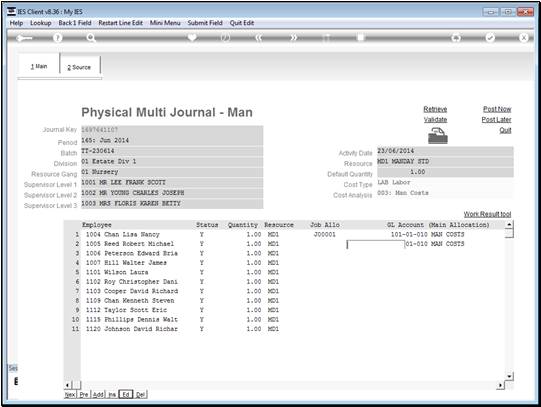
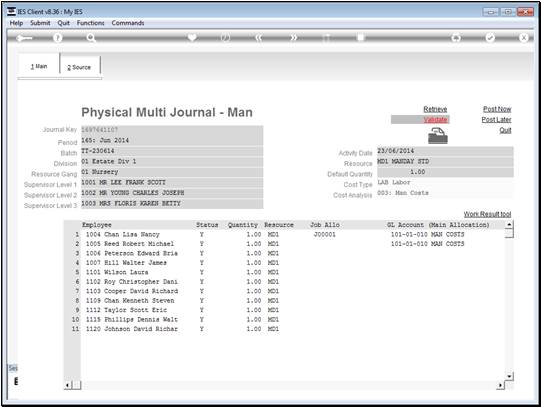
Once the Man Gang is selected, the Journal is populated with all Employees
currently in this Man Gang. Nevertheless, if necessary, we may delete
Employees from this list for the current Journal, or add some others.
Slide 11
Slide notes:
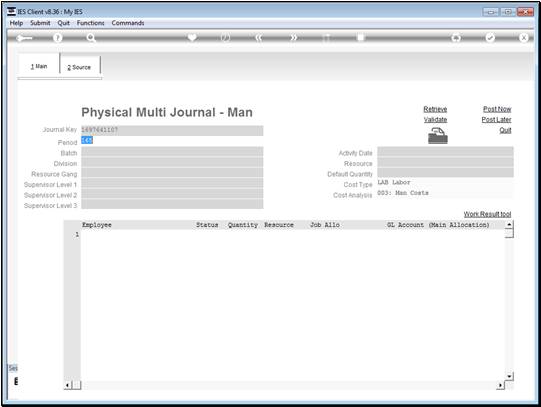
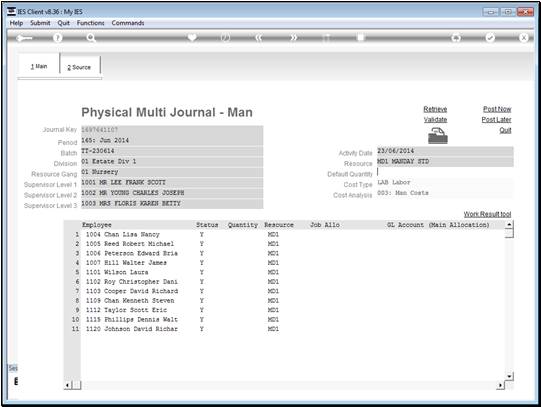
We select the Date for the Journal, i.e. a day in the correct Month.
Slide 12
Slide notes:
The Resource can be our standard Resource for Man Journals. In this case we
are using a Man Day.
Slide 13
Slide notes:
Slide 14
Slide notes:
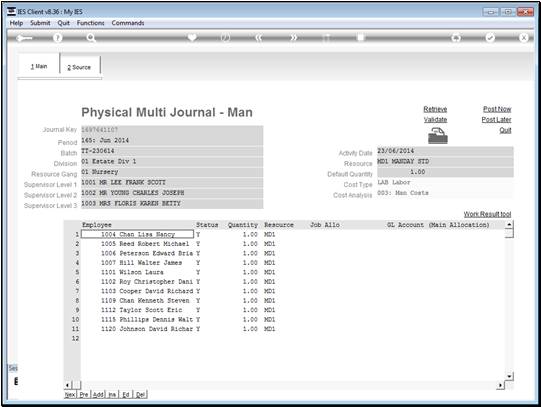
The Cost Type and Cost Analysis are derived from the set up and are not captured.
Slide 15
Slide notes:
Slide 16
Slide notes:
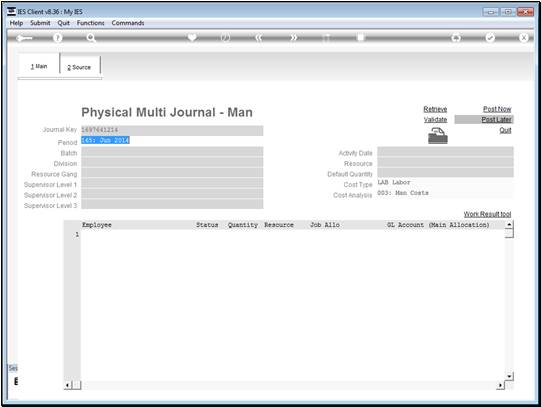
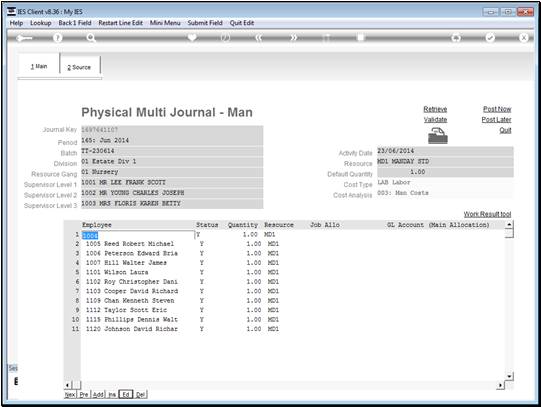
We can now start to edit the Employee lines, but we may also use 'Post
Later' and return for further work on the Journal at another time.
Slide 17
Slide notes:
Slide 18
Slide notes:
Slide 19
Slide notes:
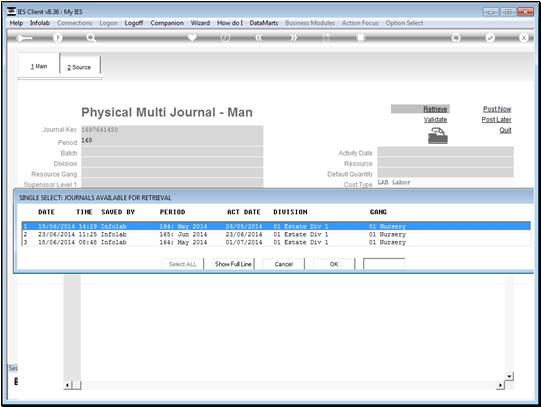
When we wish to perform further work on a 'post later' Journal we can
retrieve it from the waiting list.
Slide 20
Slide notes:
Slide 21
Slide notes:
Slide 22
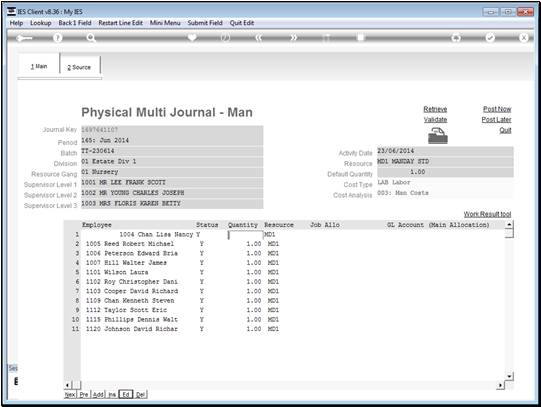
Slide notes: We will now proceed to edit some
Employee lines.
Slide 23
Slide notes:
Slide 24
Slide notes:
Slide 25
Slide notes:
Slide 26
Slide notes:
Slide 27
Slide notes:
Slide 28
Slide notes:
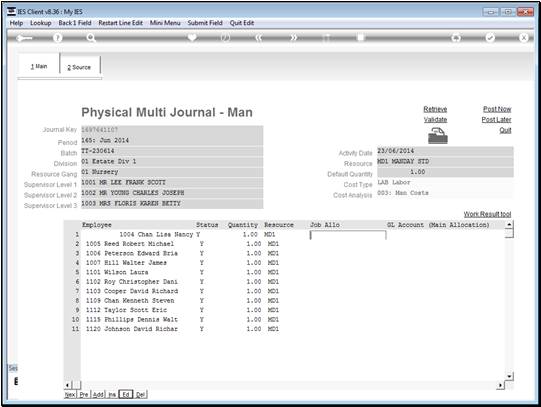
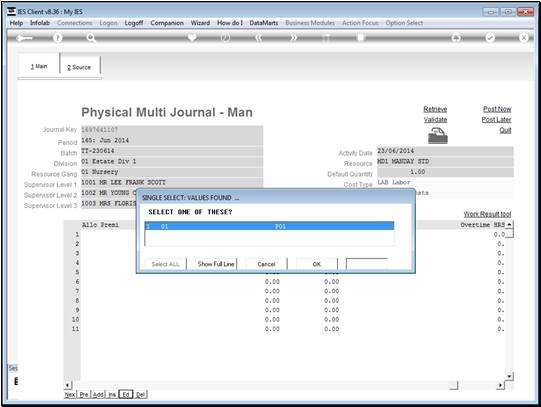
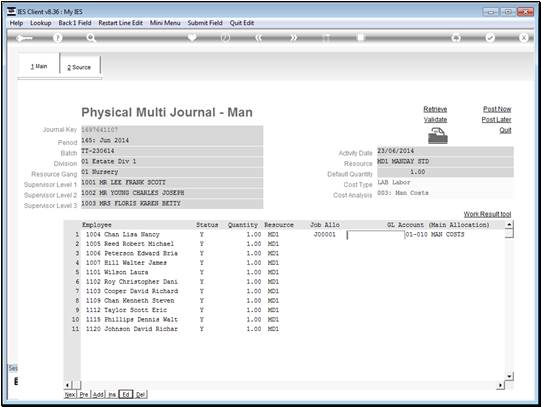
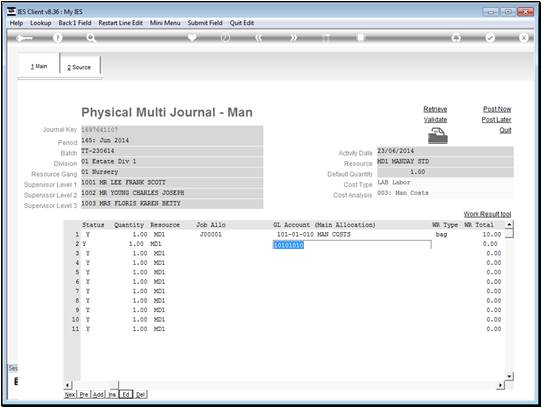
The main Allocation for the Employee man day may be to Jobs and GL or to GL
only, and all the usual lookup methods are available for easy retrieval of
the correct Accounts. The allocation will be for the work performed for the
day, i.e. probably Block and Activity based.
Slide 29
Slide notes:
Slide 30
Slide notes:
There may optionally be a Work Result that is applicable for the Employee,
and the system will know whether the Work Result requires an additional
automatic KPI or Resource journal posting.
Slide 31
Slide notes:
We just capture the Work Result and Total.
Slide 32
Slide notes:
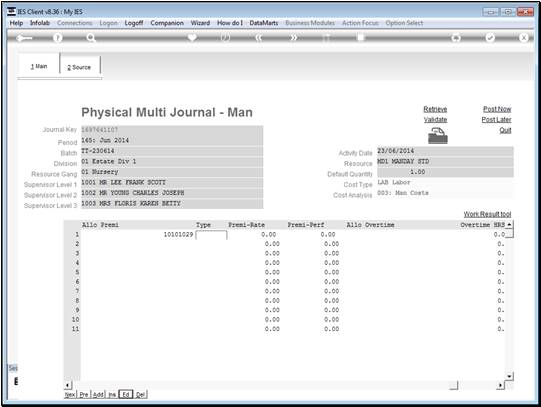
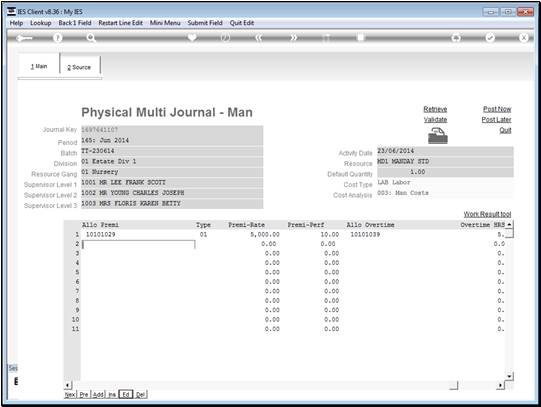
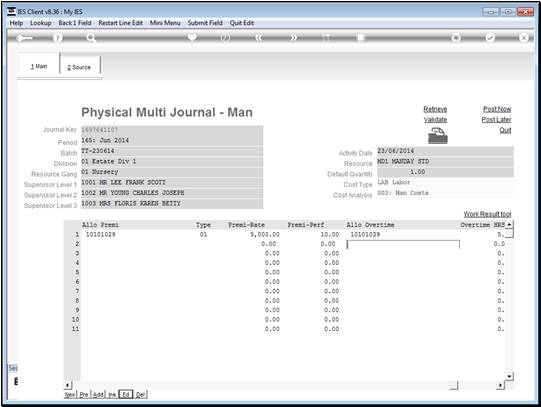
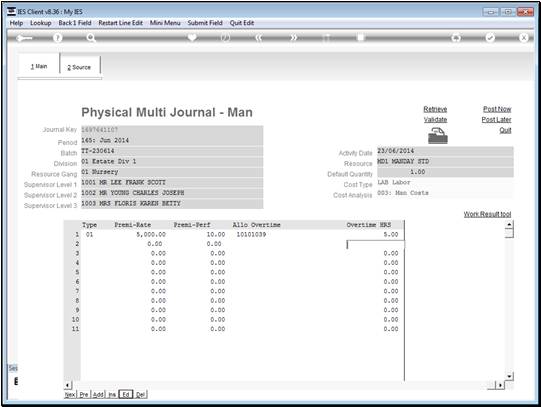
Optionally, a Premi may also be captured, in which case we must also select
the Type, Rate and Performance total for the Premi.
Slide 33
Slide notes:
Slide 34
Slide notes:
Slide 35
Slide notes:
Slide 36
Slide notes:
Slide 37
Slide notes:
Slide 38
Slide notes:
If there is Overtime applicable for the Employee line, then we will capture
the Allocation Account for Overtime, as well as the number of Hours
overtime.
Slide 39
Slide notes:
Slide 40
Slide notes:
Slide 41
Slide notes:
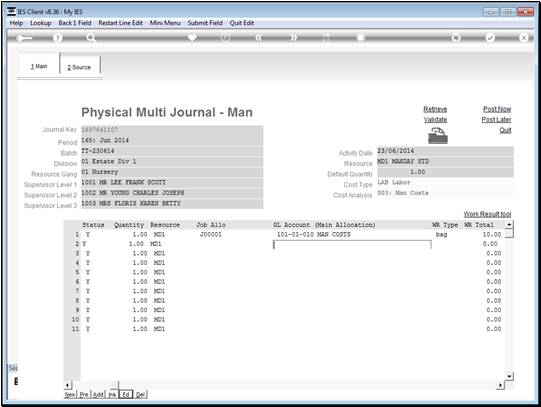
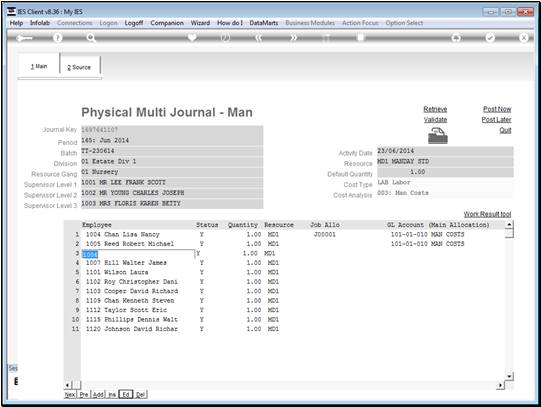
For the next Employee line, we show that only the main allocation is the
minimum requirement, and there does not have to be any Work Result, Premi
or Overtime.
Slide 42
Slide notes:
Slide 43
Slide notes:
Slide 44
Slide notes:
Slide 45
Slide notes:
Slide 46
Slide notes:
Slide 47
Slide notes:
Slide 48
Slide notes:
Slide 49
Slide notes:
Slide 50
Slide notes:
Slide 51
Slide notes:
Slide 52
Slide notes:
Slide 53
Slide notes:
Slide 54
Slide notes:
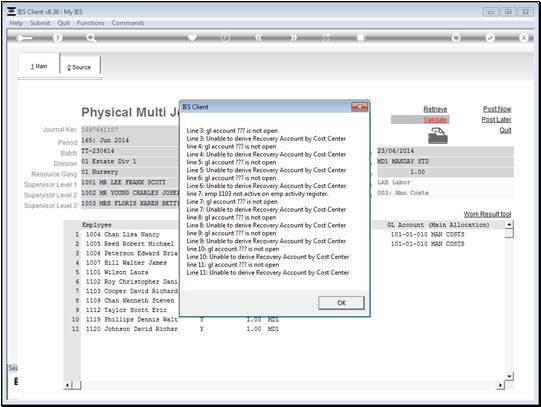
We may validate our work at any time, but of course if we have not edited
all the lines yet, then there will be error messages for the lines that
still need to be done.
Slide 55
Slide notes:
Slide 56
Slide notes:
Slide 57
Slide notes:
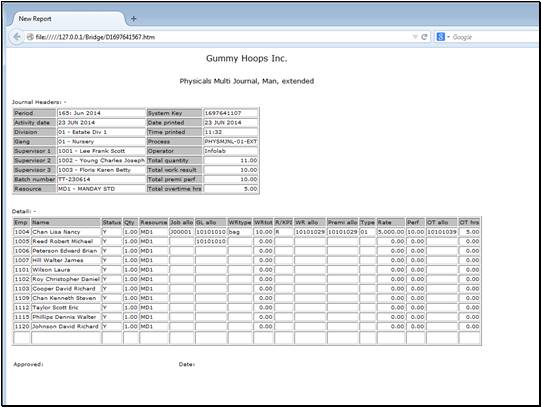
We can also print the Journal progress at any time.
Slide 58
Slide notes:
Slide 59
Slide notes:
The current print shows what has been done so far, and what remains.
Slide 60
Slide notes:
Once the Journal is ready, it may be sent back to 'Post Later' for checking
and / or authorisation before it is retrieved again and the 'Post Now'
option is applied to post it.