Slide 1

Slide notes: At The Management Reports section in the Warehouse, we have a Budget Report Writer that is designed for quick and easy Report Writing of Budget Reports that work hand-in-hand with the GL.


Slide 2

Slide notes: With access to this Report Writer, we can choose 'Write Budget Reports'.


Slide 3

Slide notes: The Report Writer is also available in the Budget Module. Let us have a look at that before we continue here.


Slide 4

Slide notes:


Slide 5

Slide notes: Select the Application Menu.


Slide 6

Slide notes:


Slide 7

Slide notes: Select the Budget Module.


Slide 8

Slide notes: Here the entry is called 'GL Bud ManReps: Define' but it is an entry to the same Budget Report Writer.


Slide 9

Slide 
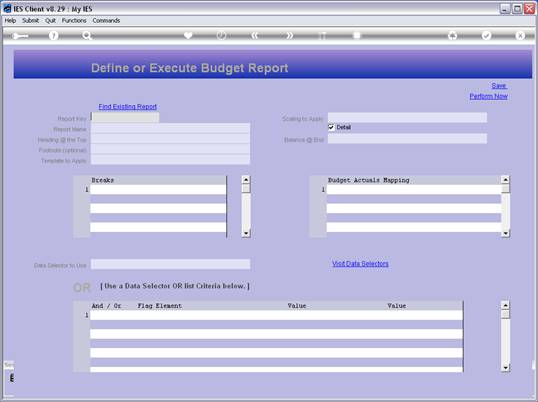
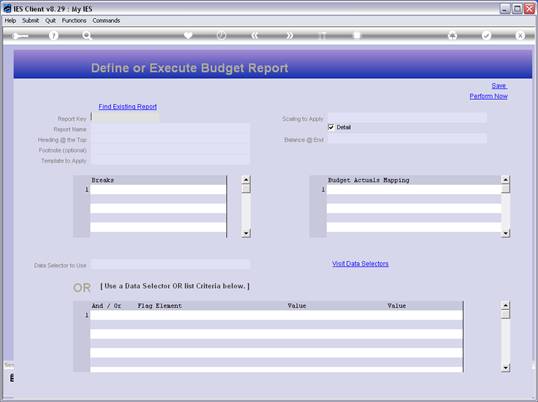
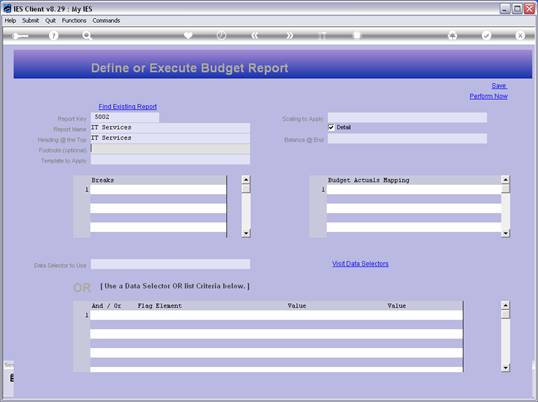
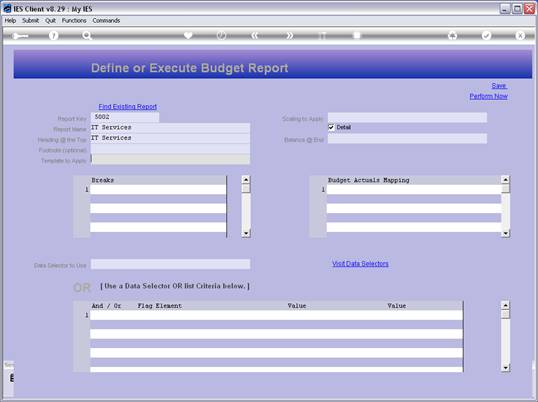
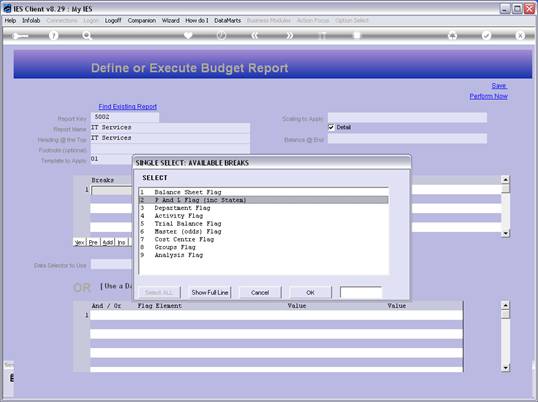
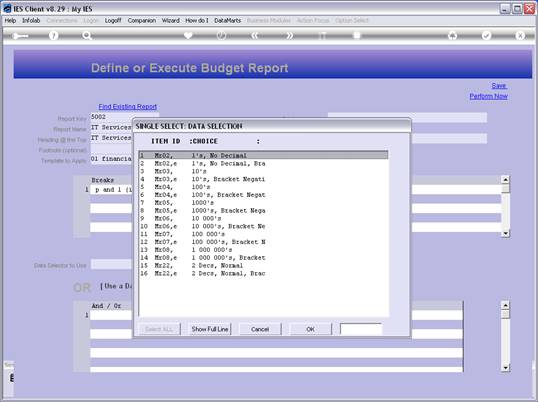
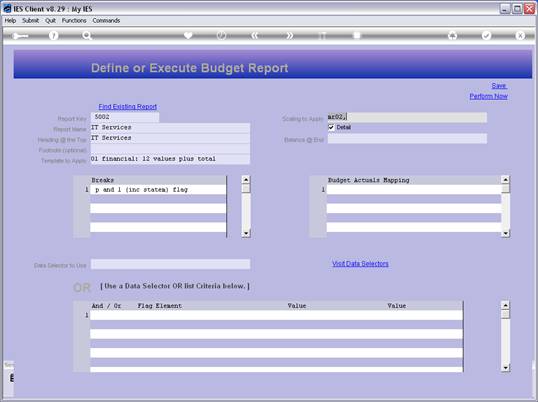
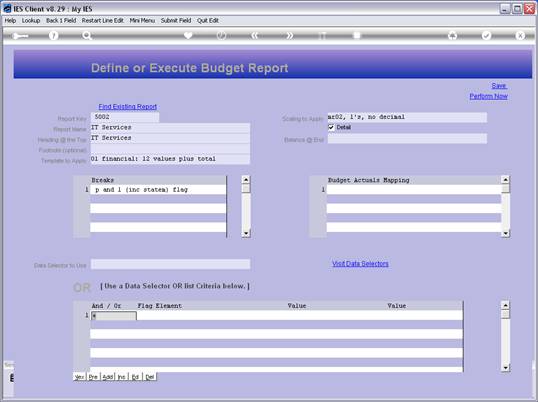
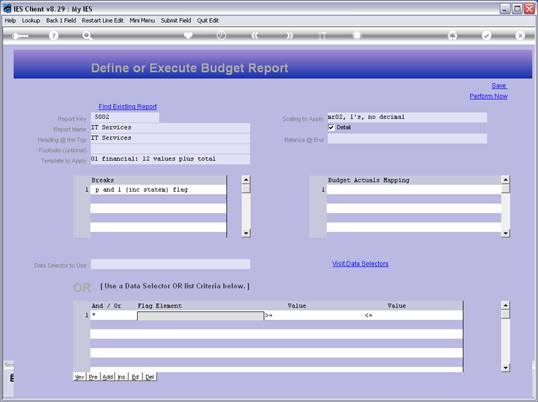
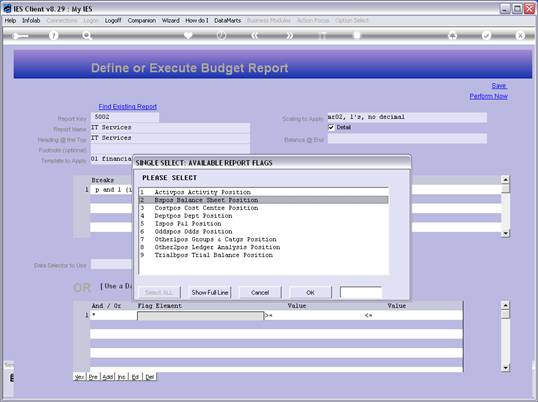
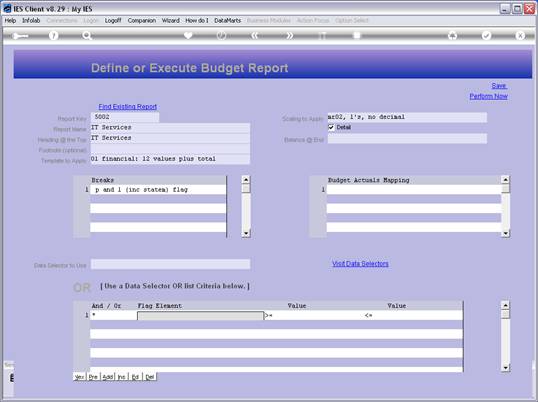
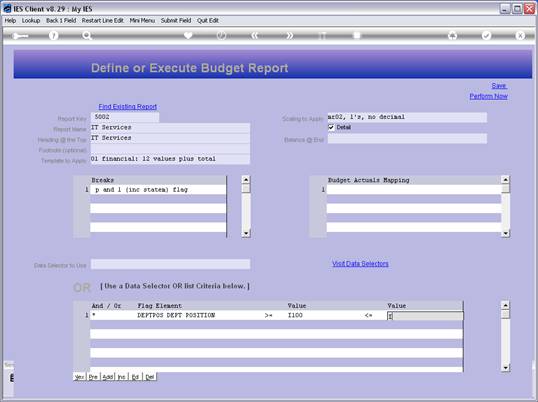
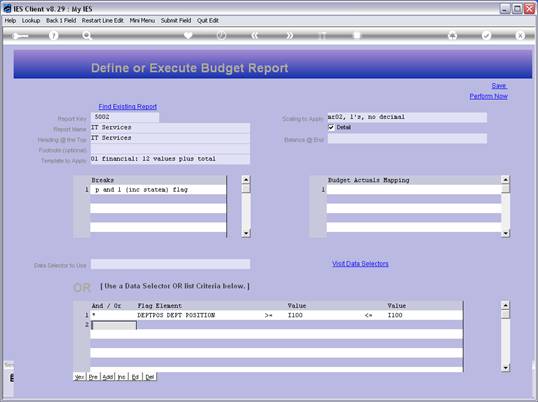
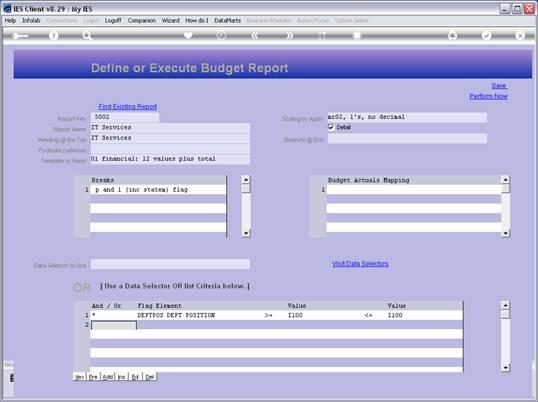
notes: And here we have the Budget Report Writer again. Now that we have seen that, we will back out of this option and continue with the original option that we entered from the Report Warehouse. While we will not show it now, we may note that in fact, the Budget Writer is also available in the System Business Objects, at the Report Writer options.


Slide 10

Slide notes:


Slide 11

Slide notes:


Slide 12

Slide notes:


Slide 13

Slide notes:


Slide 14

Slide notes:


Slide 15

Slide notes: The Budget Report Writer works with 4-digit Keys, and to do a new Report we just use a new Key that is not yet in this Report Library. A lookup will reveal the current Keys.


Slide 16

Slide notes:


Slide 17

Slide notes:


Slide 18

Slide notes:


Slide 19

Slide notes: The fact that nothing comes up after entering this Key means it is a new Key, and a new Report that we are writing. In fact, we want to show a quick example of how easy it is to do a new Report with this Budget Report Writer.


Slide 20

Slide notes:


Slide 21

Slide notes:


Slide 22

Slide notes:


Slide 23

Slide notes:


Slide 24

Slide notes:


Slide 25

Slide notes:


Slide 26

Slide notes:


Slide 27

Slide notes:


Slide 28

Slide notes:


Slide 29

Slide notes: Of course our Report needs a name to recognize it by, and if we want to use the same name as the Report Heading, then we can just copy and paste it there, but we can also use a different Report Header if we want.


Slide 30

Slide notes:


Slide 31

Slide notes:


Slide 32

Slide notes:


Slide 33

Slide notes:


Slide 34

Slide notes:


Slide 35

Slide notes:


Slide 36

Slide notes:


Slide 37

Slide notes:


Slide 38

Slide notes: Footer is optional and in this case we will skip it.


Slide 39

Slide notes: We need to use one of the available templates, which will determine the layout and format of the Report.


Slide 40

Slide notes:


Slide 41

Slide notes:


Slide 42

Slide notes:


Slide 43

Slide notes: Breaks are optional, and we can use up to 3 Breaks on 1 Report, from the GL Report Flags. This makes for powerful Management style options for the Report results.


Slide 44

Slide notes:


Slide 45

Slide notes:


Slide 46

Slide notes:


Slide 47

Slide notes:


Slide 48

Slide notes:


Slide 49

Slide notes:


Slide 50

Slide notes:


Slide 51

Slide notes: We choose our scaling, i.e. how to display the numbers.


Slide 52

Slide notes:


Slide 53

Slide notes:


Slide 54

Slide notes:


Slide 55

Slide notes:


Slide 56

Slide notes:


Slide 57

Slide notes: And the only remaining requirement is to either use a Data Selector that will select the Accounts to include for this Report, or even better, to list our selection criteria on the fly.


Slide 58

Slide notes:


Slide 59

Slide notes: The 1st line of criteria never includes "and" or "or", but all subsequent lines do. In this case, we just want all Accounts from the IT Services Department, and therefore we can just state the Department as the basis for selection.


Slide 60

Slide notes:


Slide 61

Slide notes:


Slide 62

Slide notes:


Slide 63

Slide notes:


Slide 64

Slide notes:


Slide 65

Slide notes:


Slide 66

Slide notes:


Slide 67

Slide notes:


Slide 68

Slide notes:


Slide 69

Slide notes:


Slide 70

Slide notes:


Slide 71

Slide notes:


Slide 72

Slide notes:


Slide 73

Slide notes:


Slide 74

Slide notes:


Slide 75

Slide notes:


Slide 76

Slide notes:


Slide 77

Slide notes:


Slide 78

Slide notes: We do not need any more lines of criteria in this case, so we just press ESCAPE.


Slide 79

Slide notes: After defining the Report for the 1st time, it is a good idea to SAVE it.


Slide 80

Slide notes:


Slide 81

Slide notes:


Slide 82

Slide notes:


Slide 83

Slide notes: Now we can recall the Report and perform it.


Slide 84

Slide notes:


Slide 85

Slide notes:


Slide 86

Slide notes:


Slide 87

Slide notes: Well, that was really quick and easy to write a Budget Management Report! In the other tutorials for this Report Writer, we look at some other aspects and the available alternatives to write the Reports we want.


Slide 88

Slide notes: