Slide 1

Slide notes: To set up a New Business, we will first establish the new Datamart, and then, in the target Datamart, we will navigate to the setup Application.


Slide 2

Slide notes:


Slide 3

Slide notes: Here, we start the Primary Set Up wizard.


Slide 4

Slide notes:


Slide 5

Slide notes: Since a new set up will initialize the Datamart and get rid of any existing data, the system protects the sequence with a security code. We do not want to accidentally erase data from a live or existing Business set up, and therefore the system expects us to understand in which Datamart we are about to perform this exercise, and offers a security code that we will need to input in a moment as confirmation that we understand exactly what we are doing.


Slide 6

Slide notes: At this point, the system informs us with a confirmation of which Datamart we are working in.


Slide 7

Slide notes: And then prompts for the security code. If we are in the wrong place and / or wish to abort the set up sequence, then we can choose 'cancel' here. To continue, we will input the security code.


Slide 8

Slide notes: The system then proceeds to initialize the Datamart by erasing any and all existing data to provide a clean slate for the new Business set up.


Slide 9

Slide notes:


Slide 10

Slide notes: The choice of Implementation type is easy. Unless it is a Medical enterprise we are setting up, we need to choose only from 'Business Generic' and 'Agriculture'. If it is Agriculture, then we will choose that, while in all other cases we will choose Business Generic. And the sequence to be followed by the Operator is exactly the same for Generic and for Agriculture.


Slide 11

Slide notes:


Slide 12

Slide notes:


Slide 13

Slide notes:


Slide 14

Slide notes:


Slide 15

Slide notes: We need to select the last month of the Financial Year for the new Company.


Slide 16

Slide notes:


Slide 17

Slide notes: And we have to select the last Depreciation Period for Fixed Assets. When the Fixed Asset Register will not be used immediately, we can simply choose the last month prior to the current month as of now.


Slide 18

Slide notes:


Slide 19

Slide notes:


Slide 20

Slide notes:


Slide 21

Slide notes:


Slide 22

Slide notes: Next, we choose the country where the Business is domiciled, and we select the base Accounting Currency.


Slide 23

Slide notes:


Slide 24

Slide notes:


Slide 25

Slide notes:


Slide 26

Slide notes:


Slide 27

Slide notes:


Slide 28

Slide notes:


Slide 29

Slide notes:


Slide 30

Slide notes: The base Accounting Currency is usually the same as the Currency for the country of domicile, but it can also be different.


Slide 31

Slide notes:


Slide 32

Slide notes: Next, we choose the current prevailing Tax Rate for VAT, or the similar Tax Type for the local country.


Slide 33

Slide notes:


Slide 34

Slide notes:


Slide 35

Slide notes:


Slide 36

Slide notes:


Slide 37

Slide notes: At this stage, we may choose to initiate some new User Codes to operate in this Datamart, or we can also do it later by using the Access Profiles application.


Slide 38

Slide notes: And then we have an opportunity to enter the primary Print Control Headers for the new Business. These can also be edited later, if necessary.


Slide 39

Slide notes:


Slide 40

Slide notes:


Slide 41

Slide notes:


Slide 42

Slide notes:


Slide 43

Slide notes:


Slide 44

Slide notes:


Slide 45

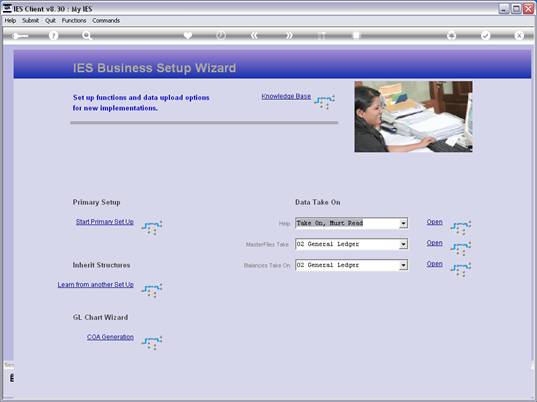
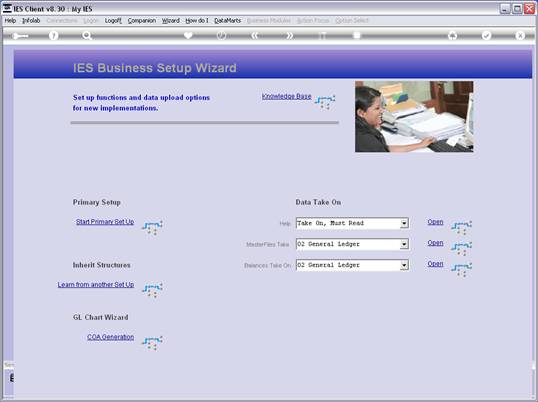
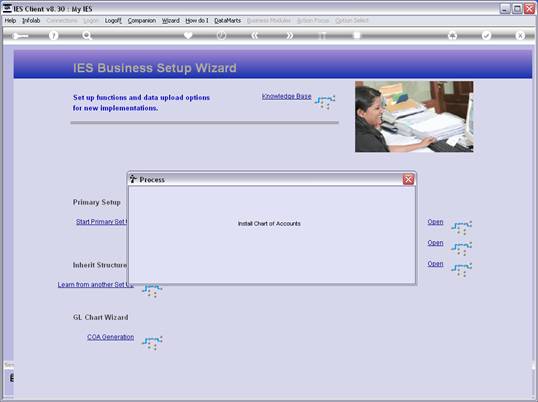
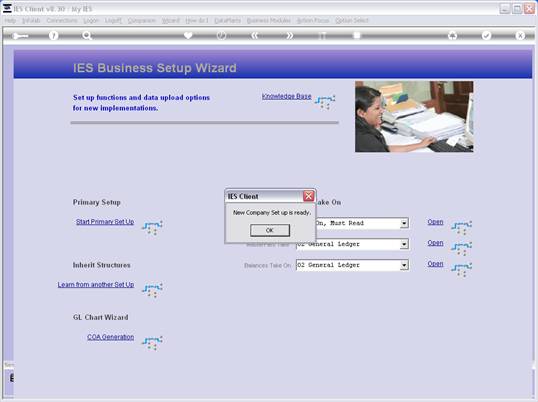
Slide notes: Now our new enterprise is ready for business. A default Chart of Accounts is already in place, and all the required settings for the various Modules have default values. In other words, we can immediately start processing Journals. More likely though, we 
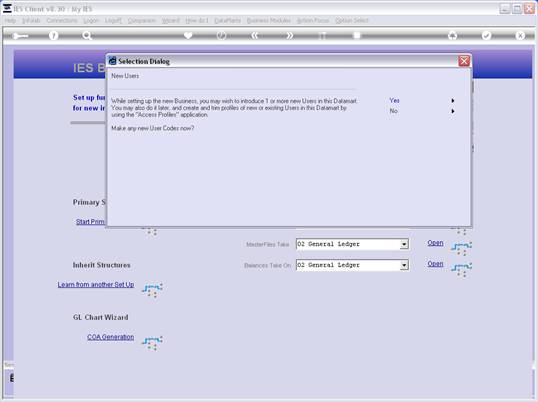
may wish to perform further steps for User Access, extensions to the Chart of Accounts, and uploading of history and Trial Balance, etc. Any of these steps can be performed with other options in the Set Up application and with the menu options available in the various Application modules.


Slide 46

Slide notes:


Slide 47

Slide notes: